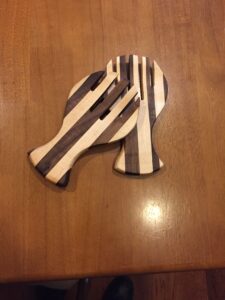
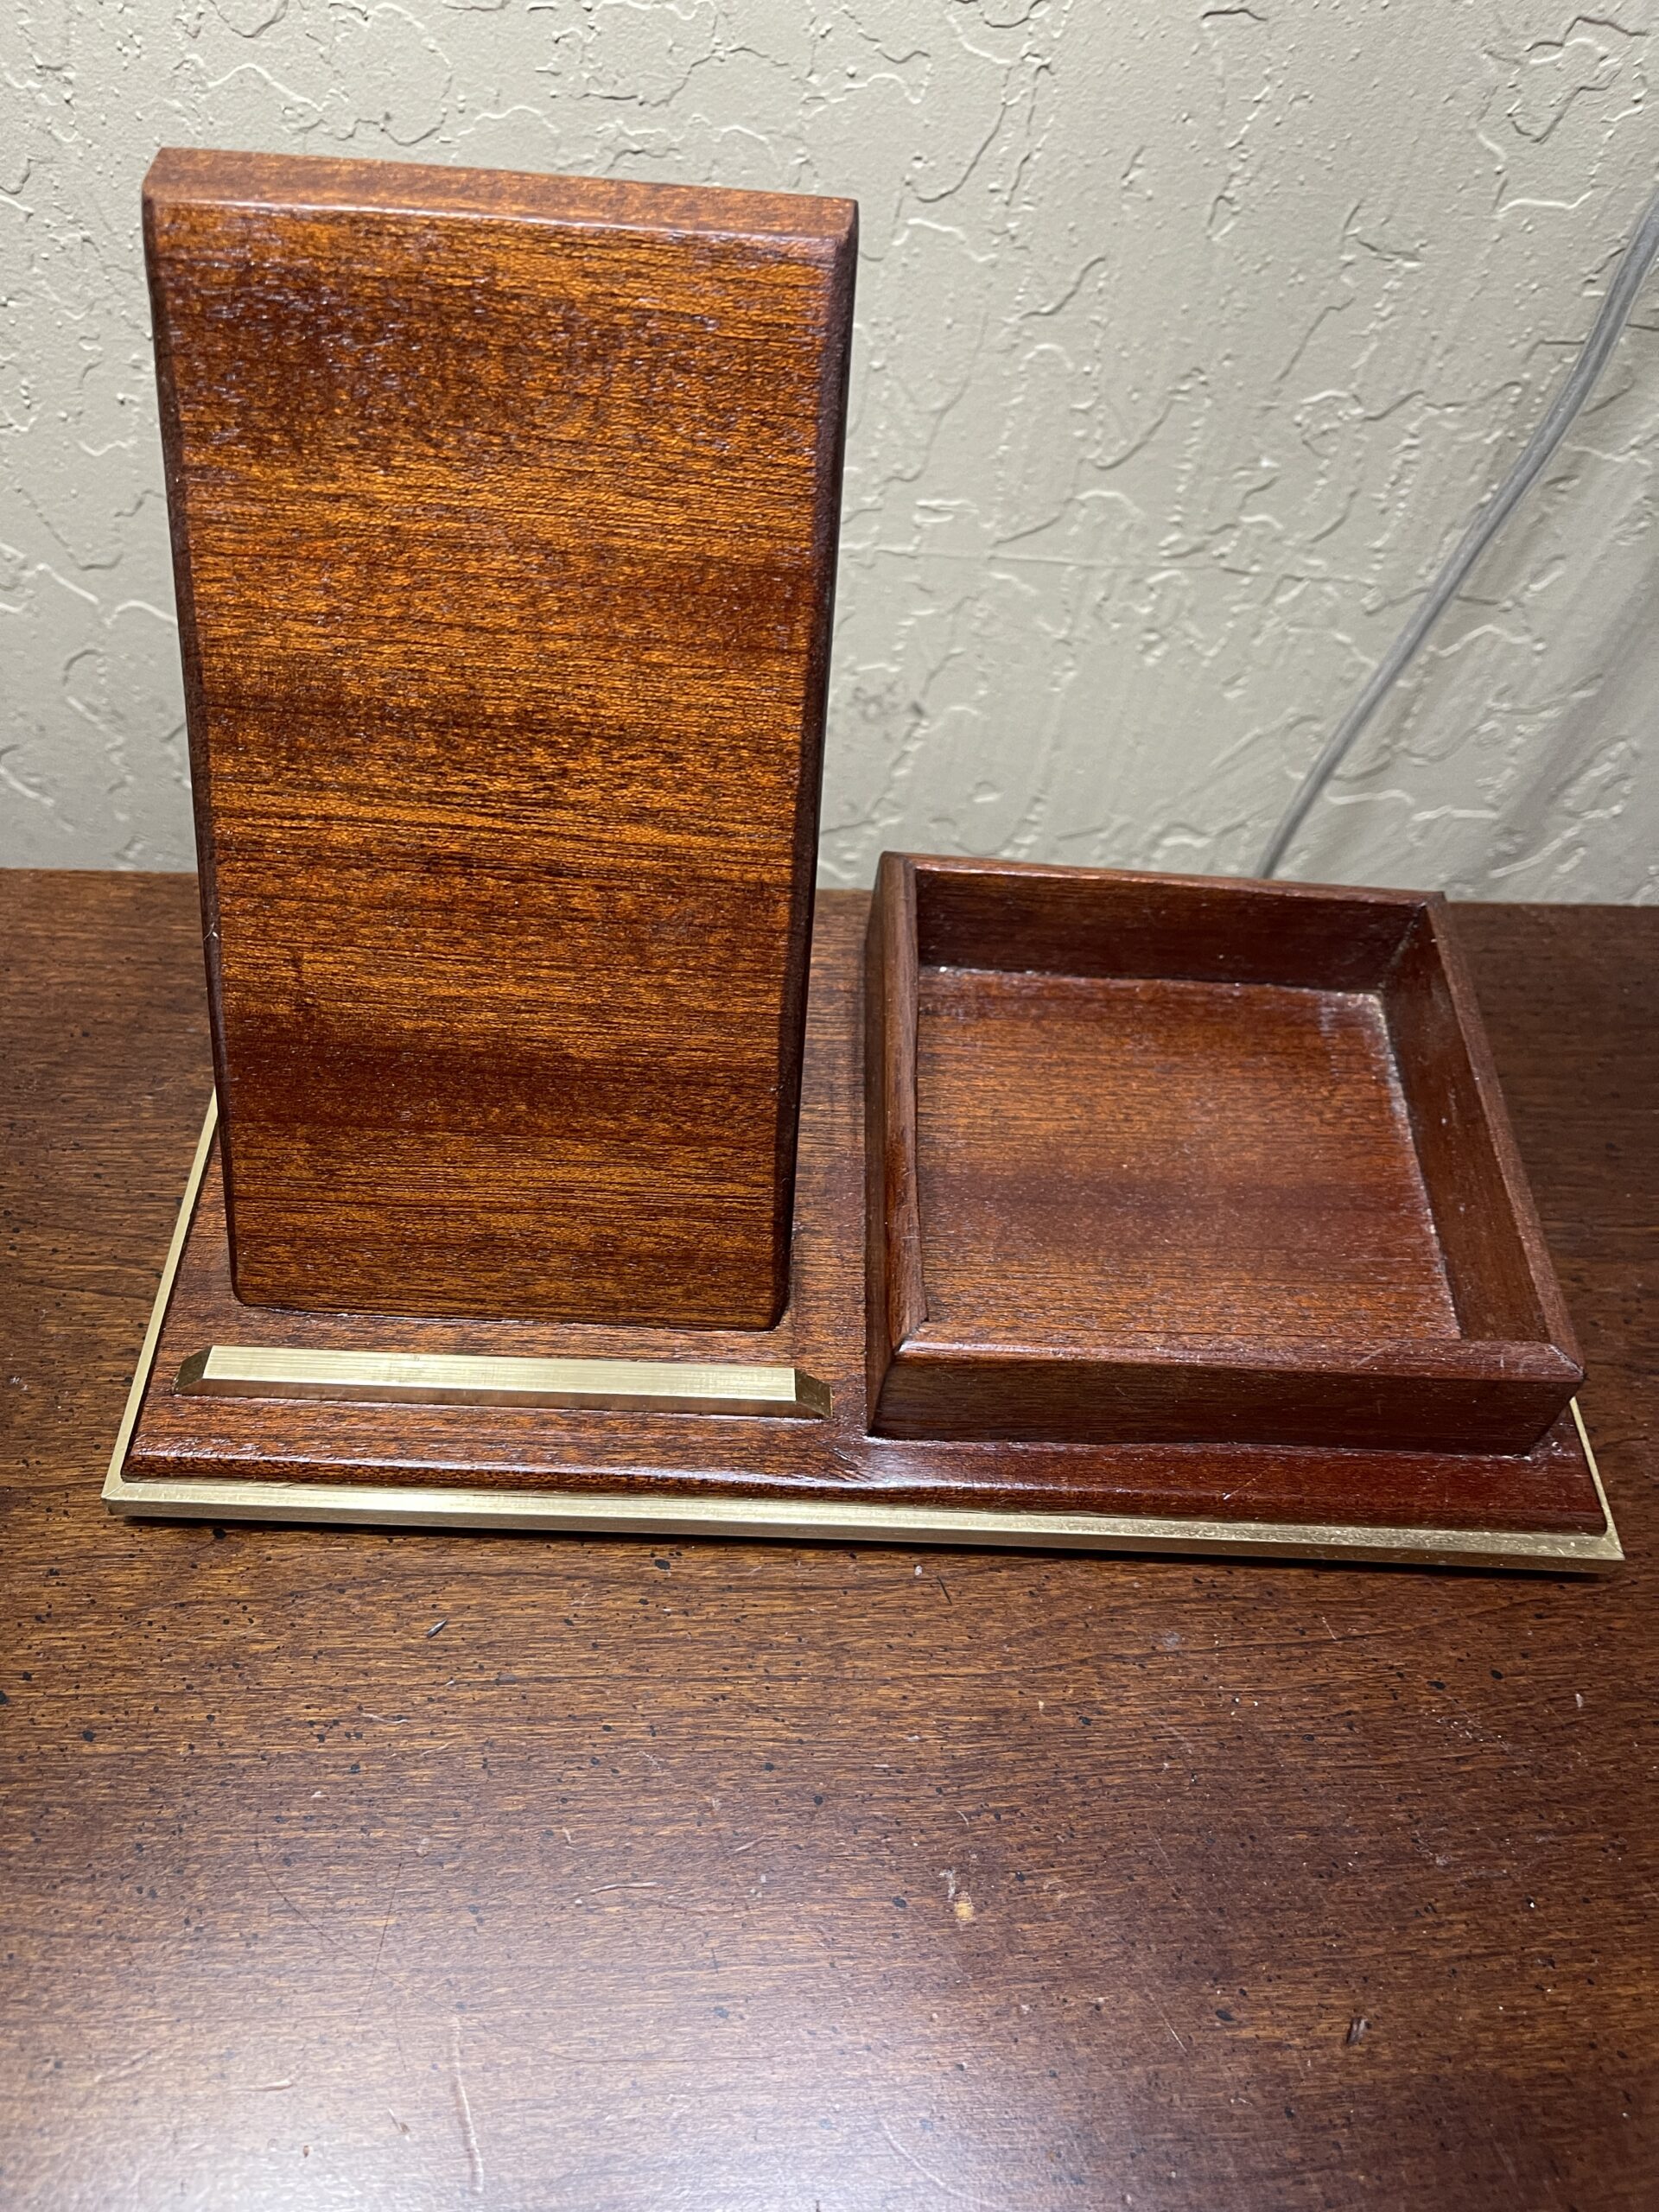
This is the third and last tissue holder I’ve made and added to each bathroom in the house. They are specifically designed and sized to fit the Puffs brand tissues. The wood is made from I believe to be Zebra wood but I need to double check on that.


A man of many interests – Including woodworking
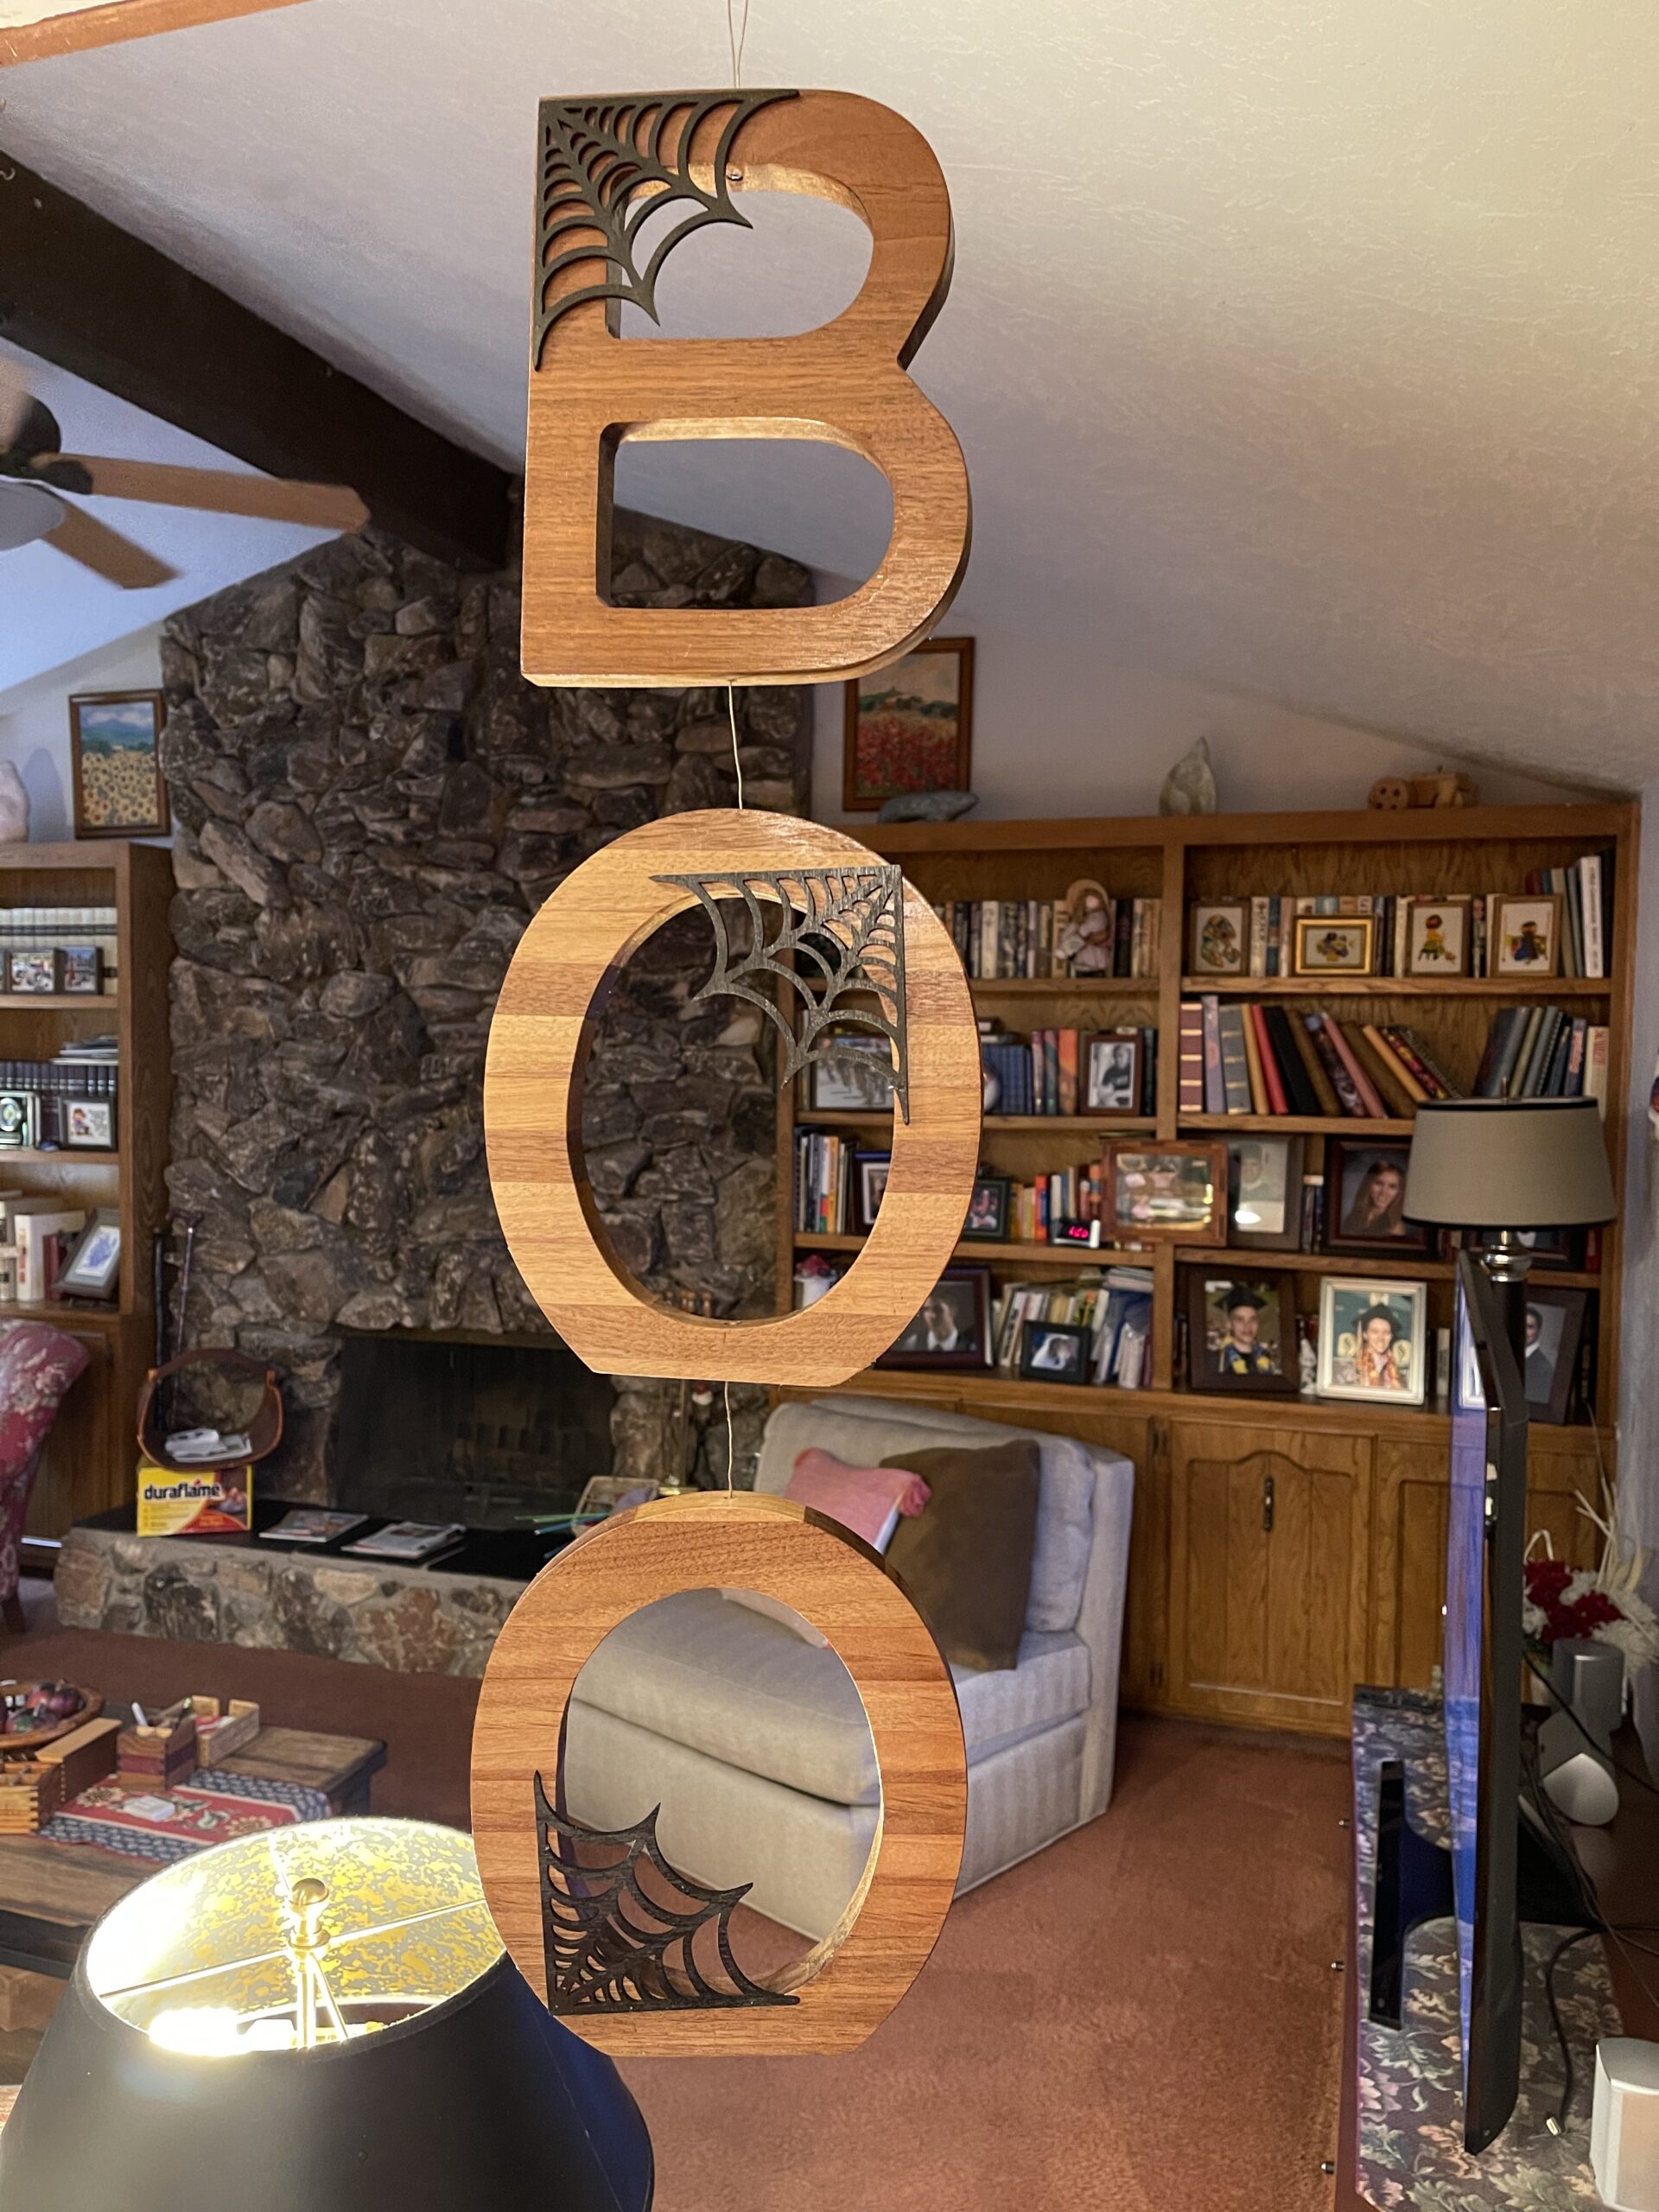
I had a lot of walnut scraps let over from the coffee table that I made recently so I put together a number of pieces to mae the BOO letters that are hung together.
The original letters were bought by Janet from a Gradinroad catalog and I traced those on a 1/4 inch piece of plywood to use as a template to make as many as I had the desire to ,make.
I used the bandsaw to roughly cut the outsides of the letters. A scroll saw and jig saw took care of the interior areas and then a flush trim router bit was used to get the wood down to the refined shape as defined by the template.
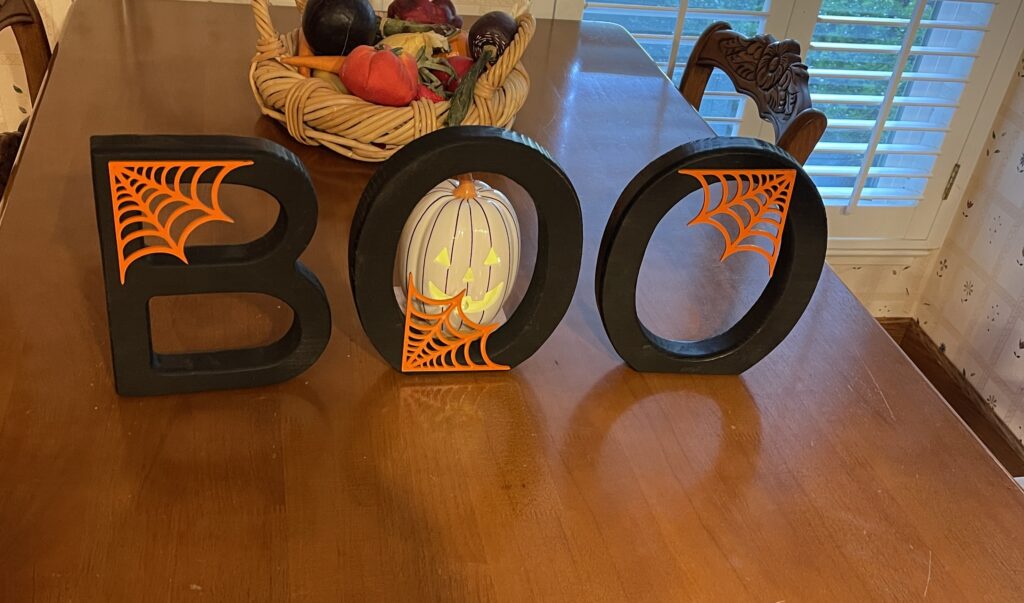
The walnut letters were then sanded and a wipe on poly-urethane finish was applied. The black letters are made of Douglas fir and are simply painted with a flat black spray paint.
The spiderwebs were bought from and Etsy store and pin nailed onto the letters. They were painted orange or black depending upon the wood they were to be attached too.
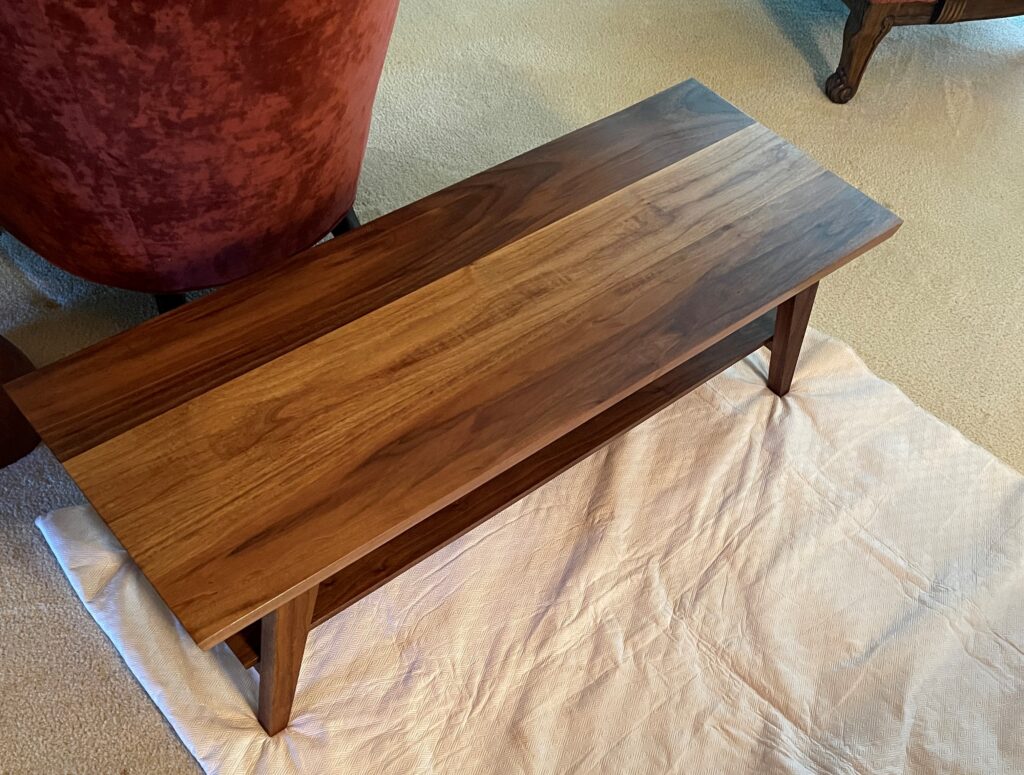
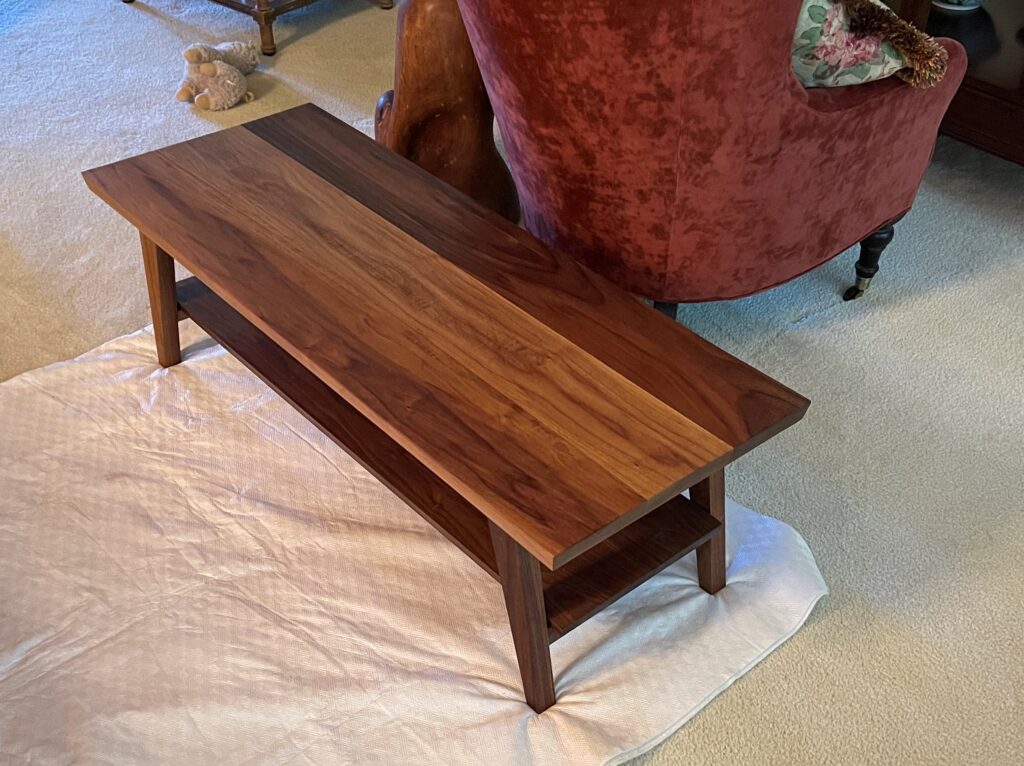
The YouTube duo called Foureyes Furniture offered a get acquainted deal to their channel and website by offering a free course on how to build this coffee table. They sell other woodworking plans and this was a way to introduce more people to their products with hopes of additional sells in the future.
I was impressed with the quality of the drawings and the demonstrations that were presented in the 13 or so chapters in the course.
This course, I think, was geared toward the people at my skill level showing multiple ways of doing certain task depending upon what equipment you owned and the experience one had under their belt.
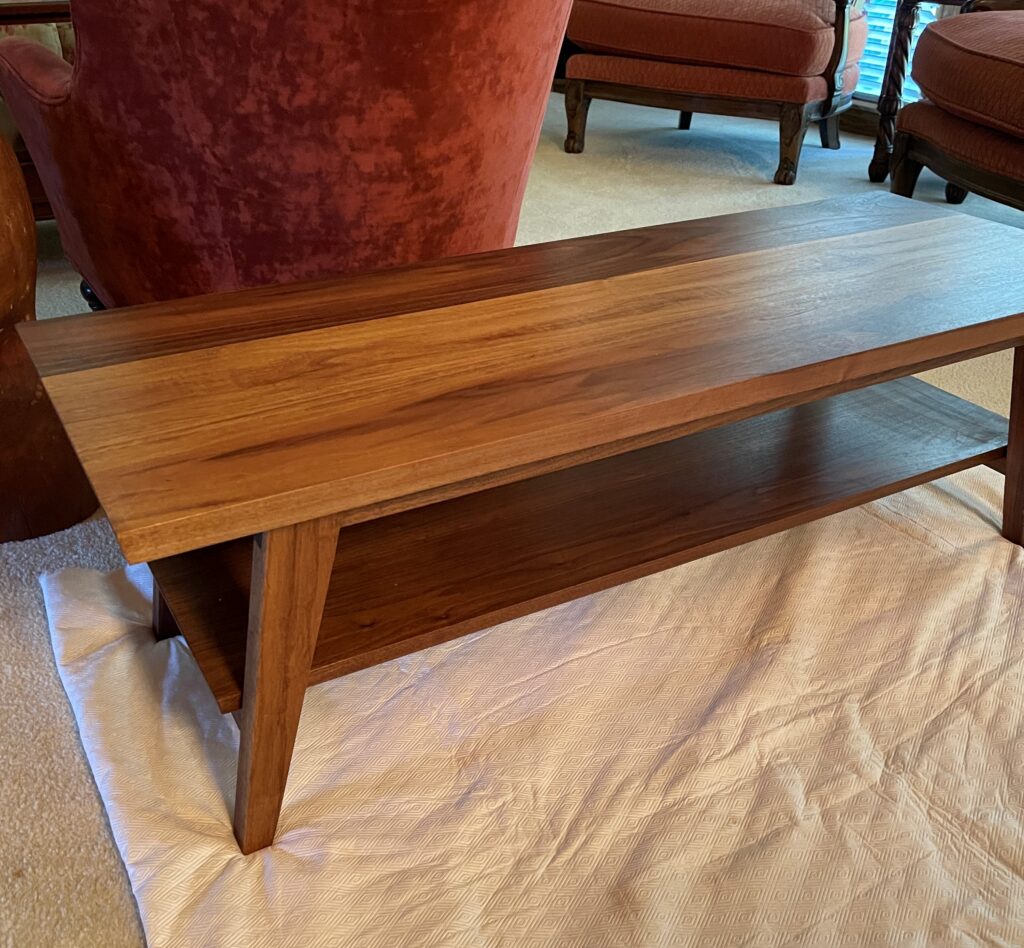
The top, stretchers, and legs are made from 5/4 walnut and the bottom shelf and rails are from 4/4 walnut and like the top, it is glued together from about 6 inch wide boards to create the needed width.
The finish was Rubio Monocoat, a hard wax product that I had never used before. The application of the finish was a piece of cake and my wife was gracious enough to apply most of it to help me. Truth be told, the piece was for her and she took pride in being apart of the build.
This was my first experience with this type of finish and I was pleased with the outcome. A little of the Rubio Monocoat goes a long way. Good thing because that material is expensive, very expensive.
![]()
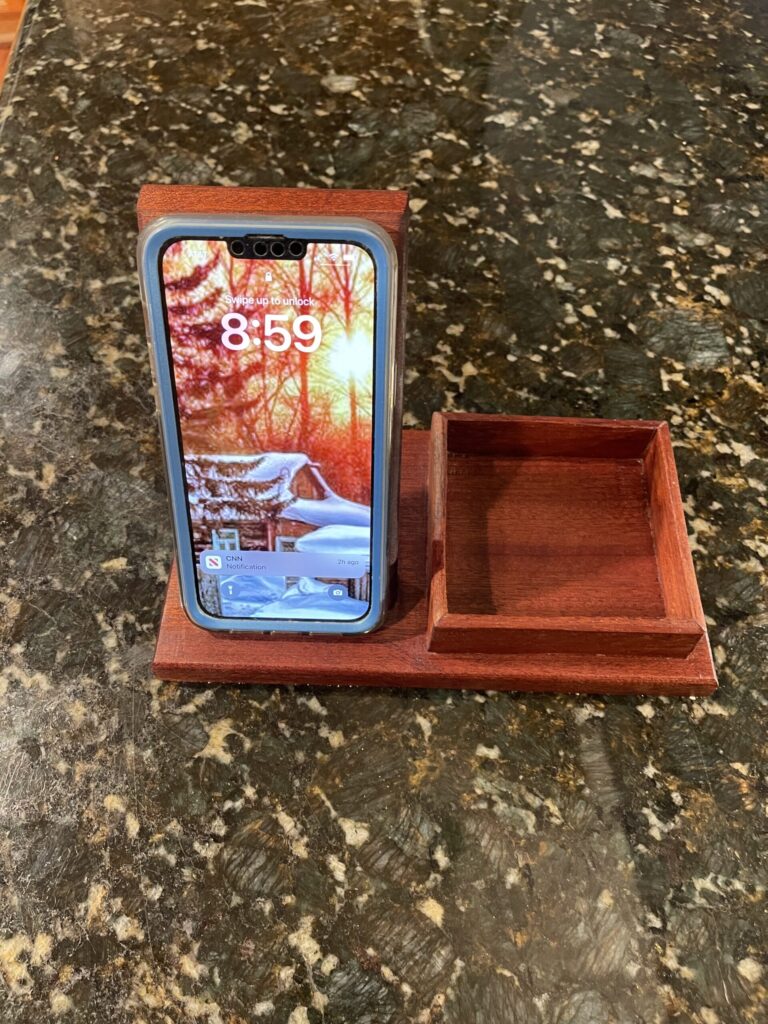
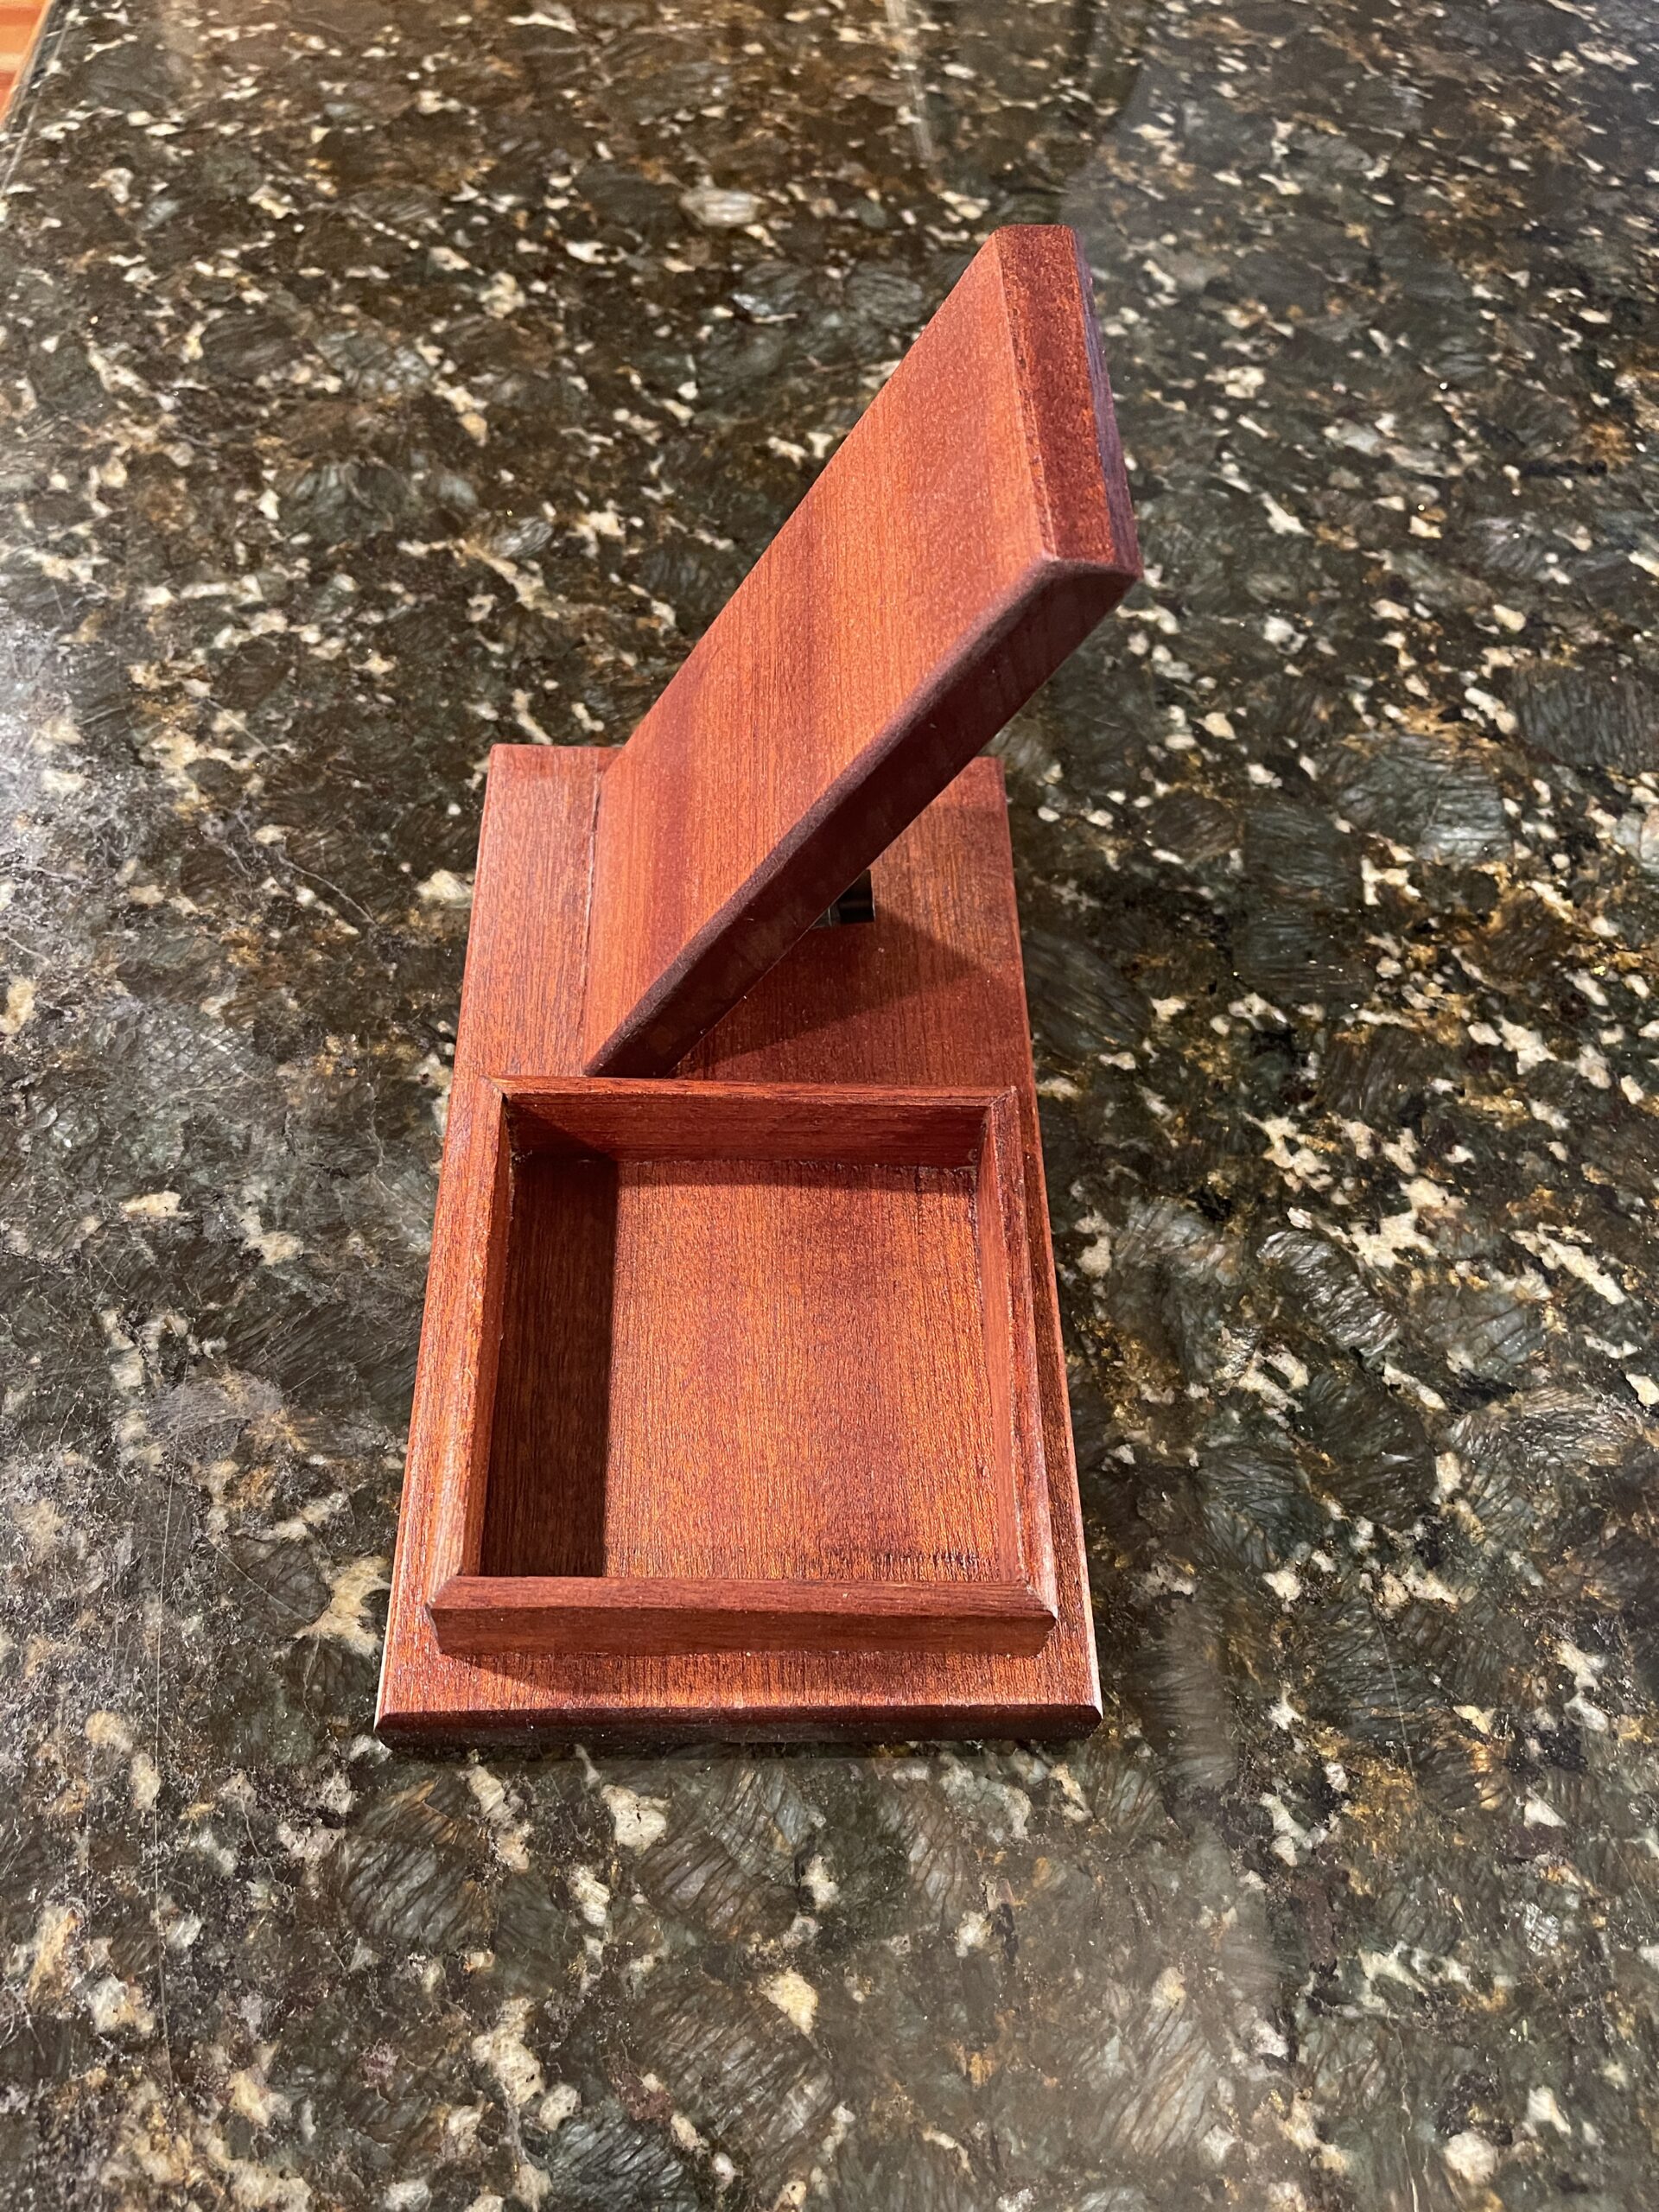

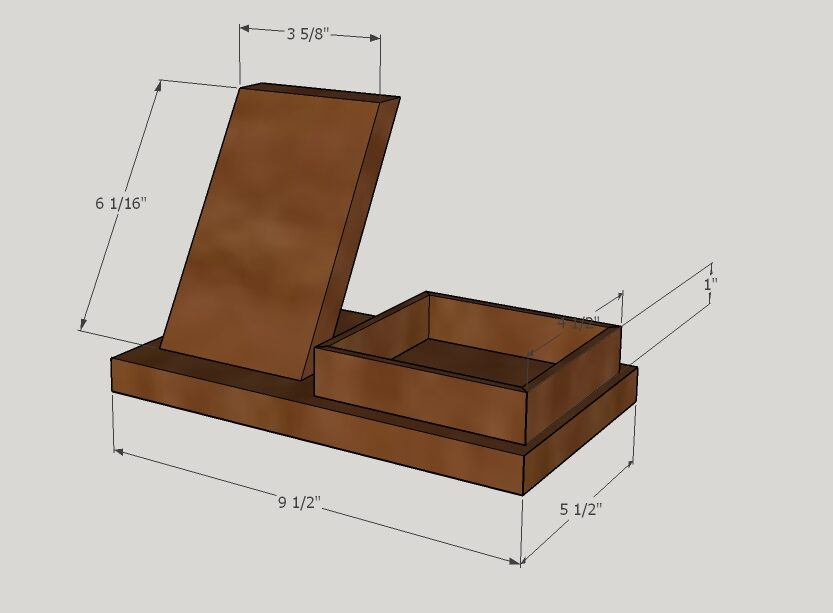

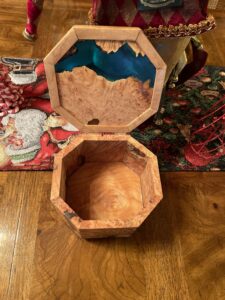
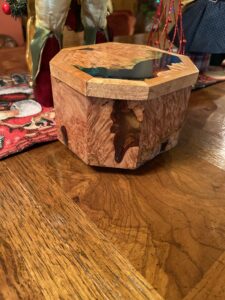
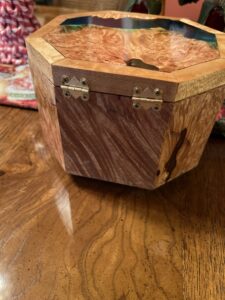
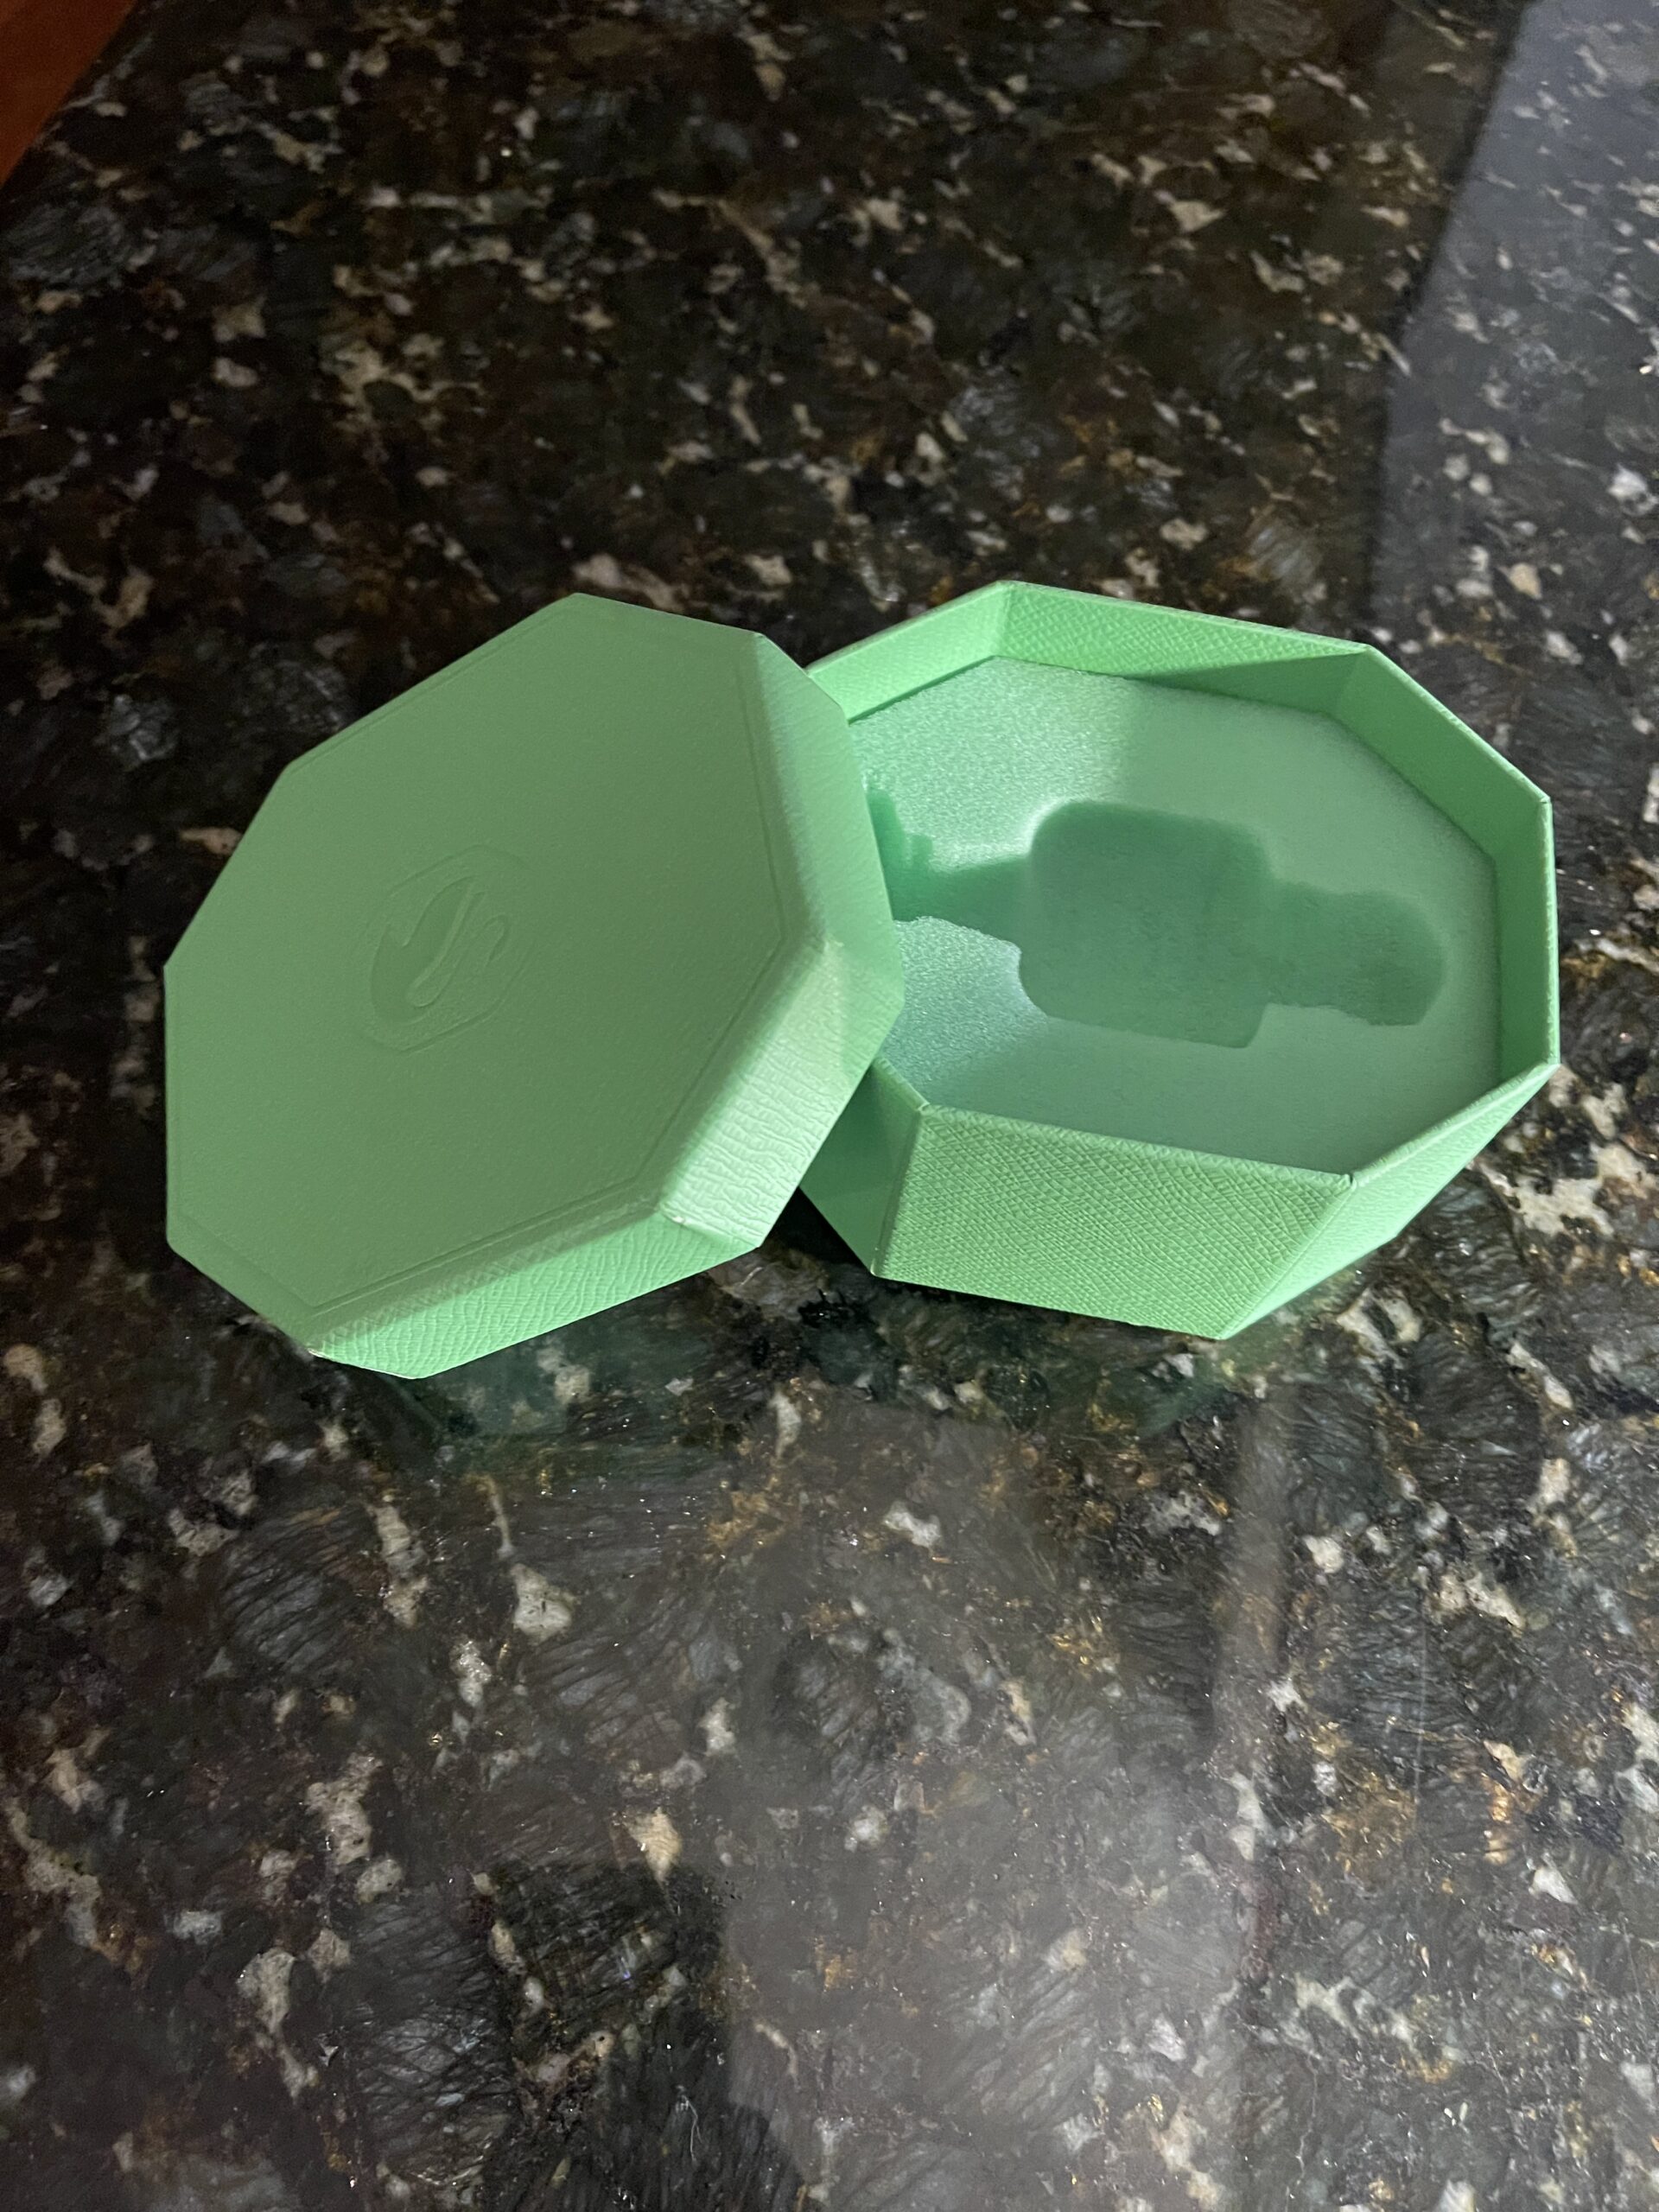
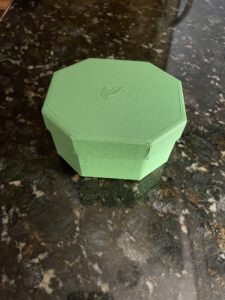
This box was made to hold a Swarovski Nutcracker figurine that I bought as a Christmas present for my wife. The general shape of the wooden box mirrored the overall shape of the cardboard box the gift came in.
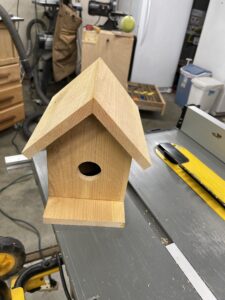
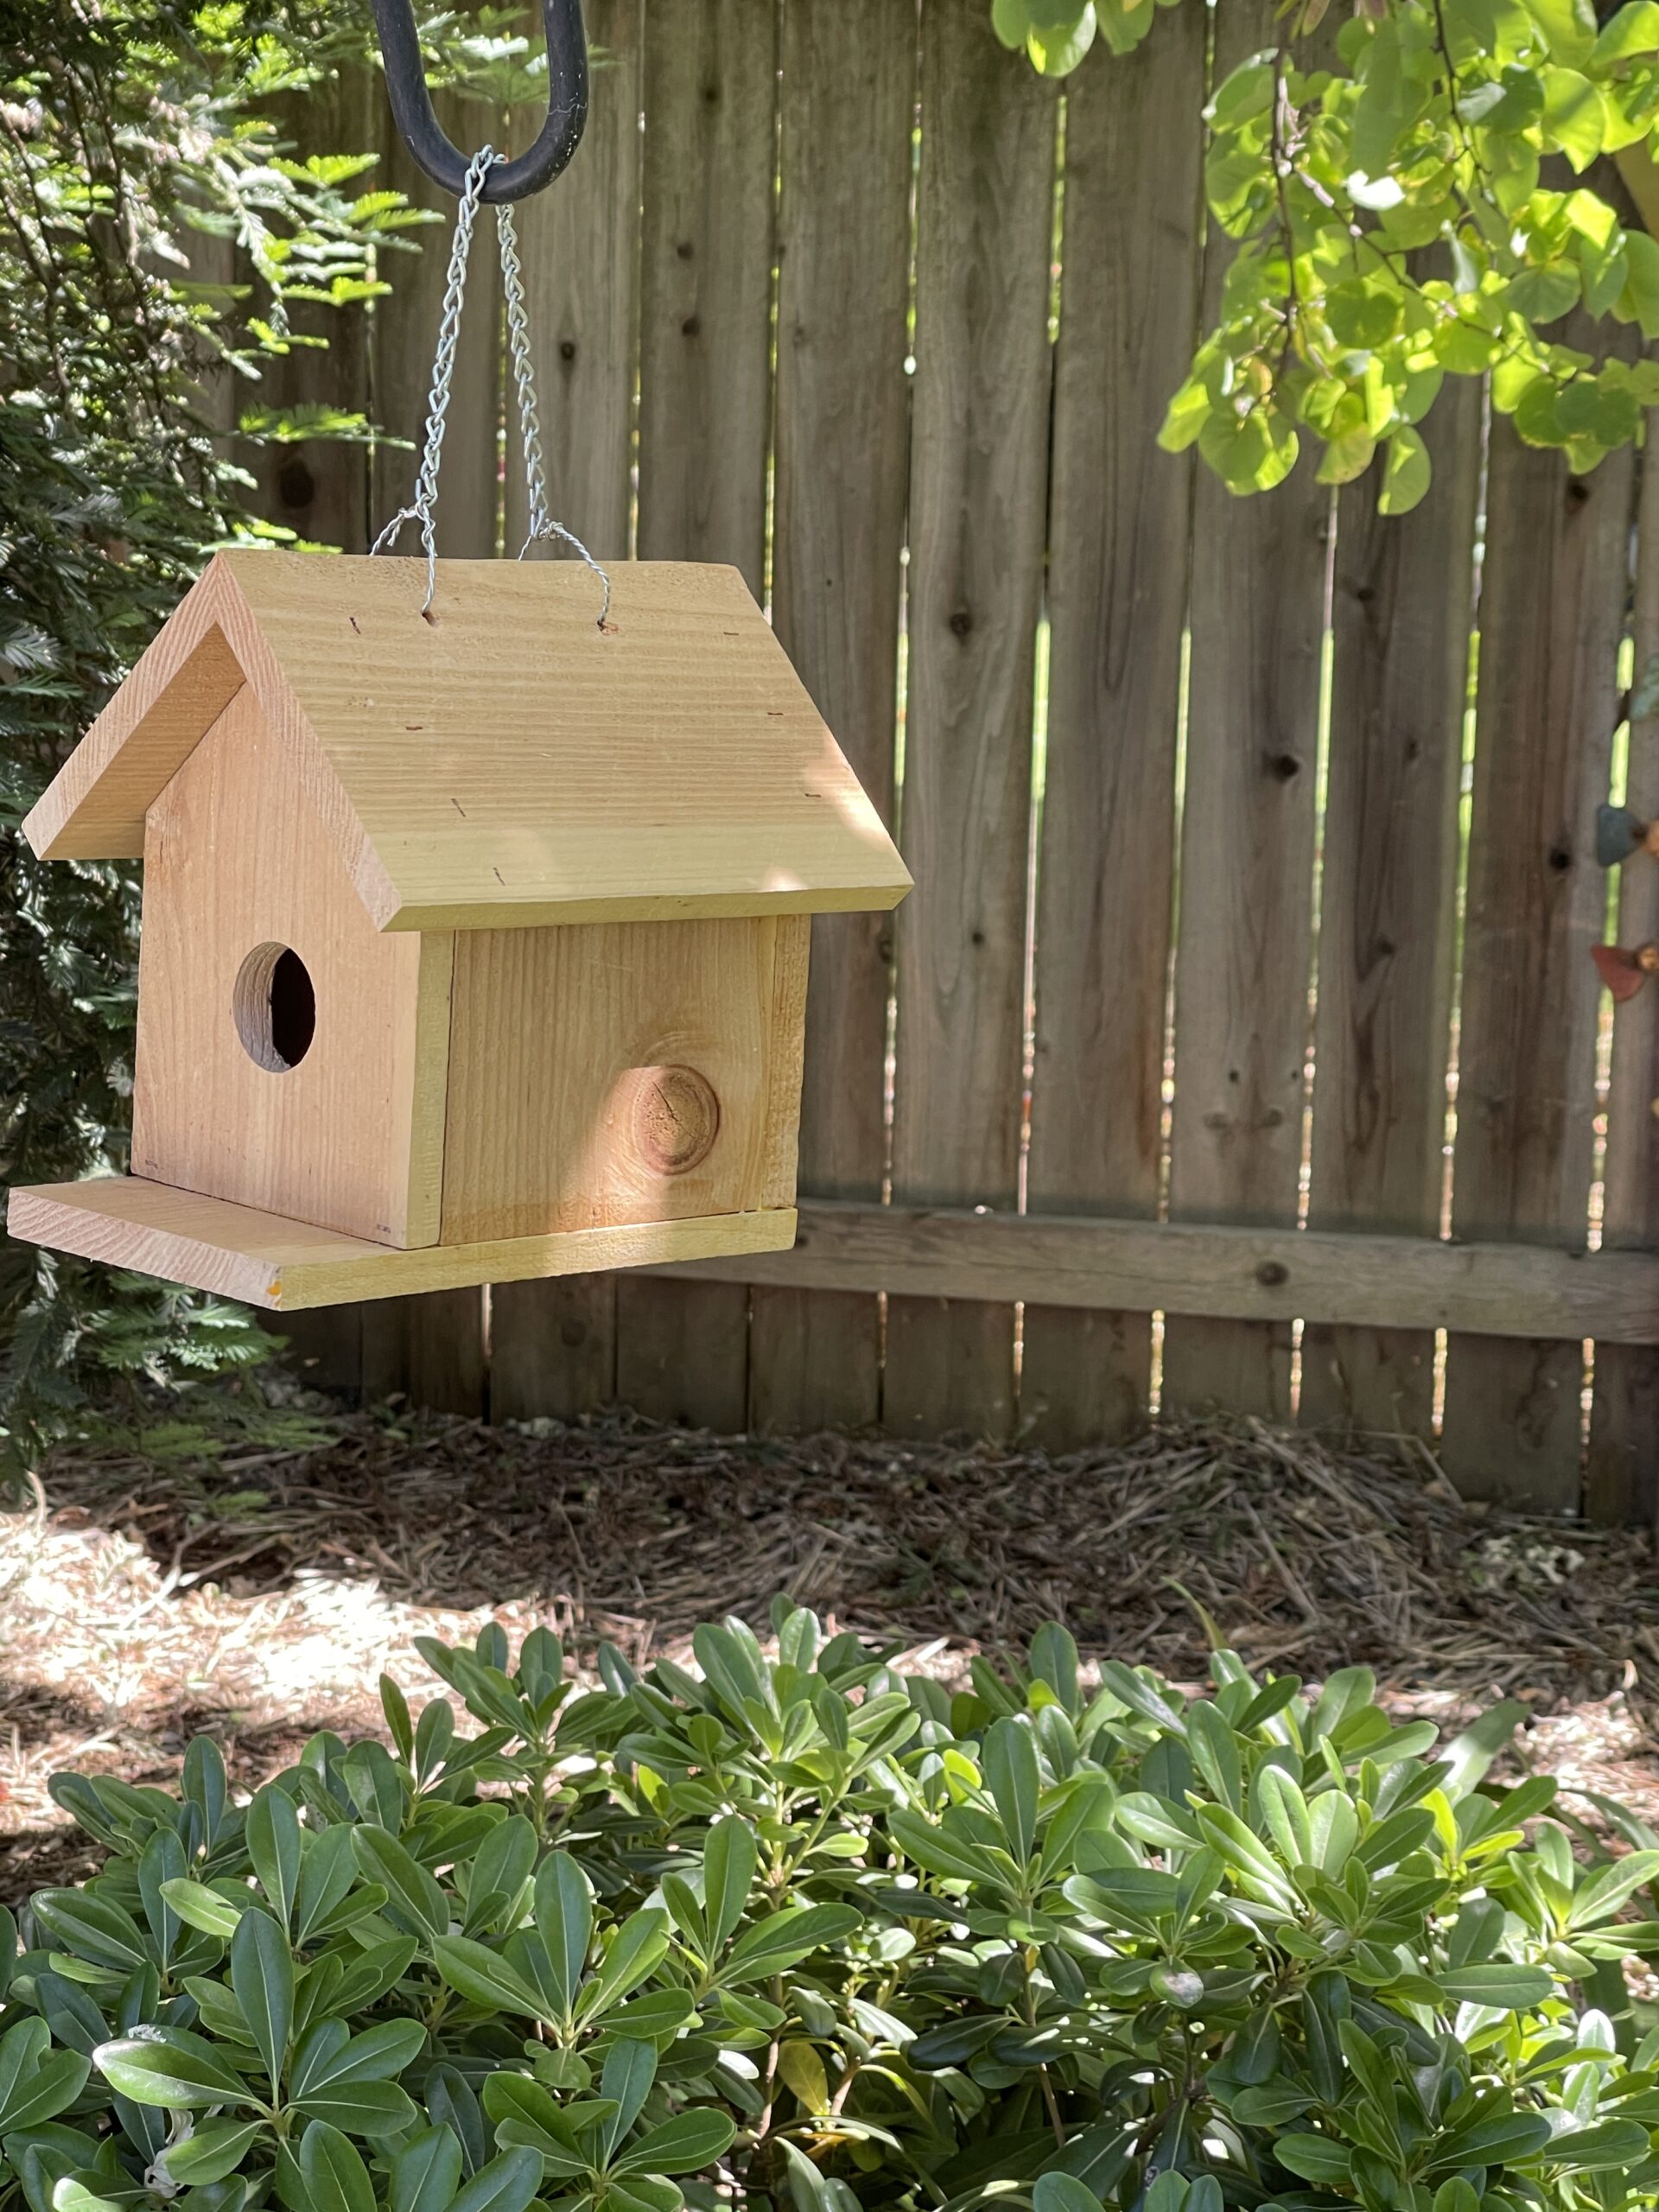
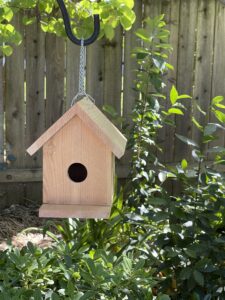
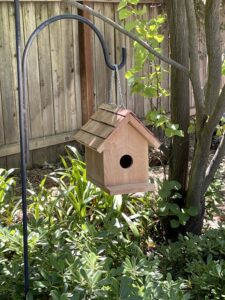
I saw some quick and easy bird cages being built by novice and experienced wood workers. They were using 6-8 foot cedar planks and I thought I since I had some 6 foot planks left over from the planter that I’d just built for the backyard I would give it a shot making one.
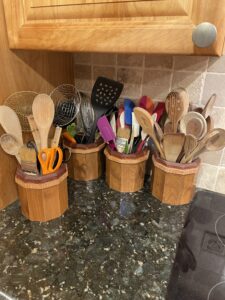
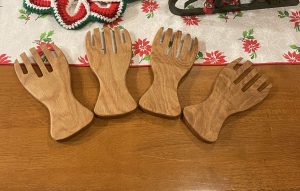
I found some extension table leaves of a table that had been long ago given away to a family member or to charity. The leaves were in the back of a seldom used closet and had been forgotten about.
One side of the wood was already finished in a glossy urethane type substance and I thought this would be an easy and quick opportunity to make some utensil holders for the kitchen. That was a false assumption to say the least. Trying to preserve that finish was way more work than it would have been if I had just sanded, planed, re-sawn or used some other method to get the wood ready for glue-up.
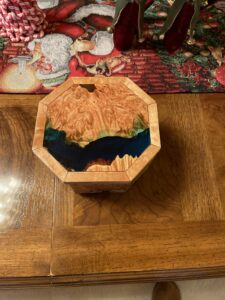
The containers ae 10 sided and about 5 inches tall. The wood appears to be maple with a OSB (oriented strand board) backing. I added a small layer of sapele on top with a 45 degree chamfer then a trim of white oak separating the two woods.
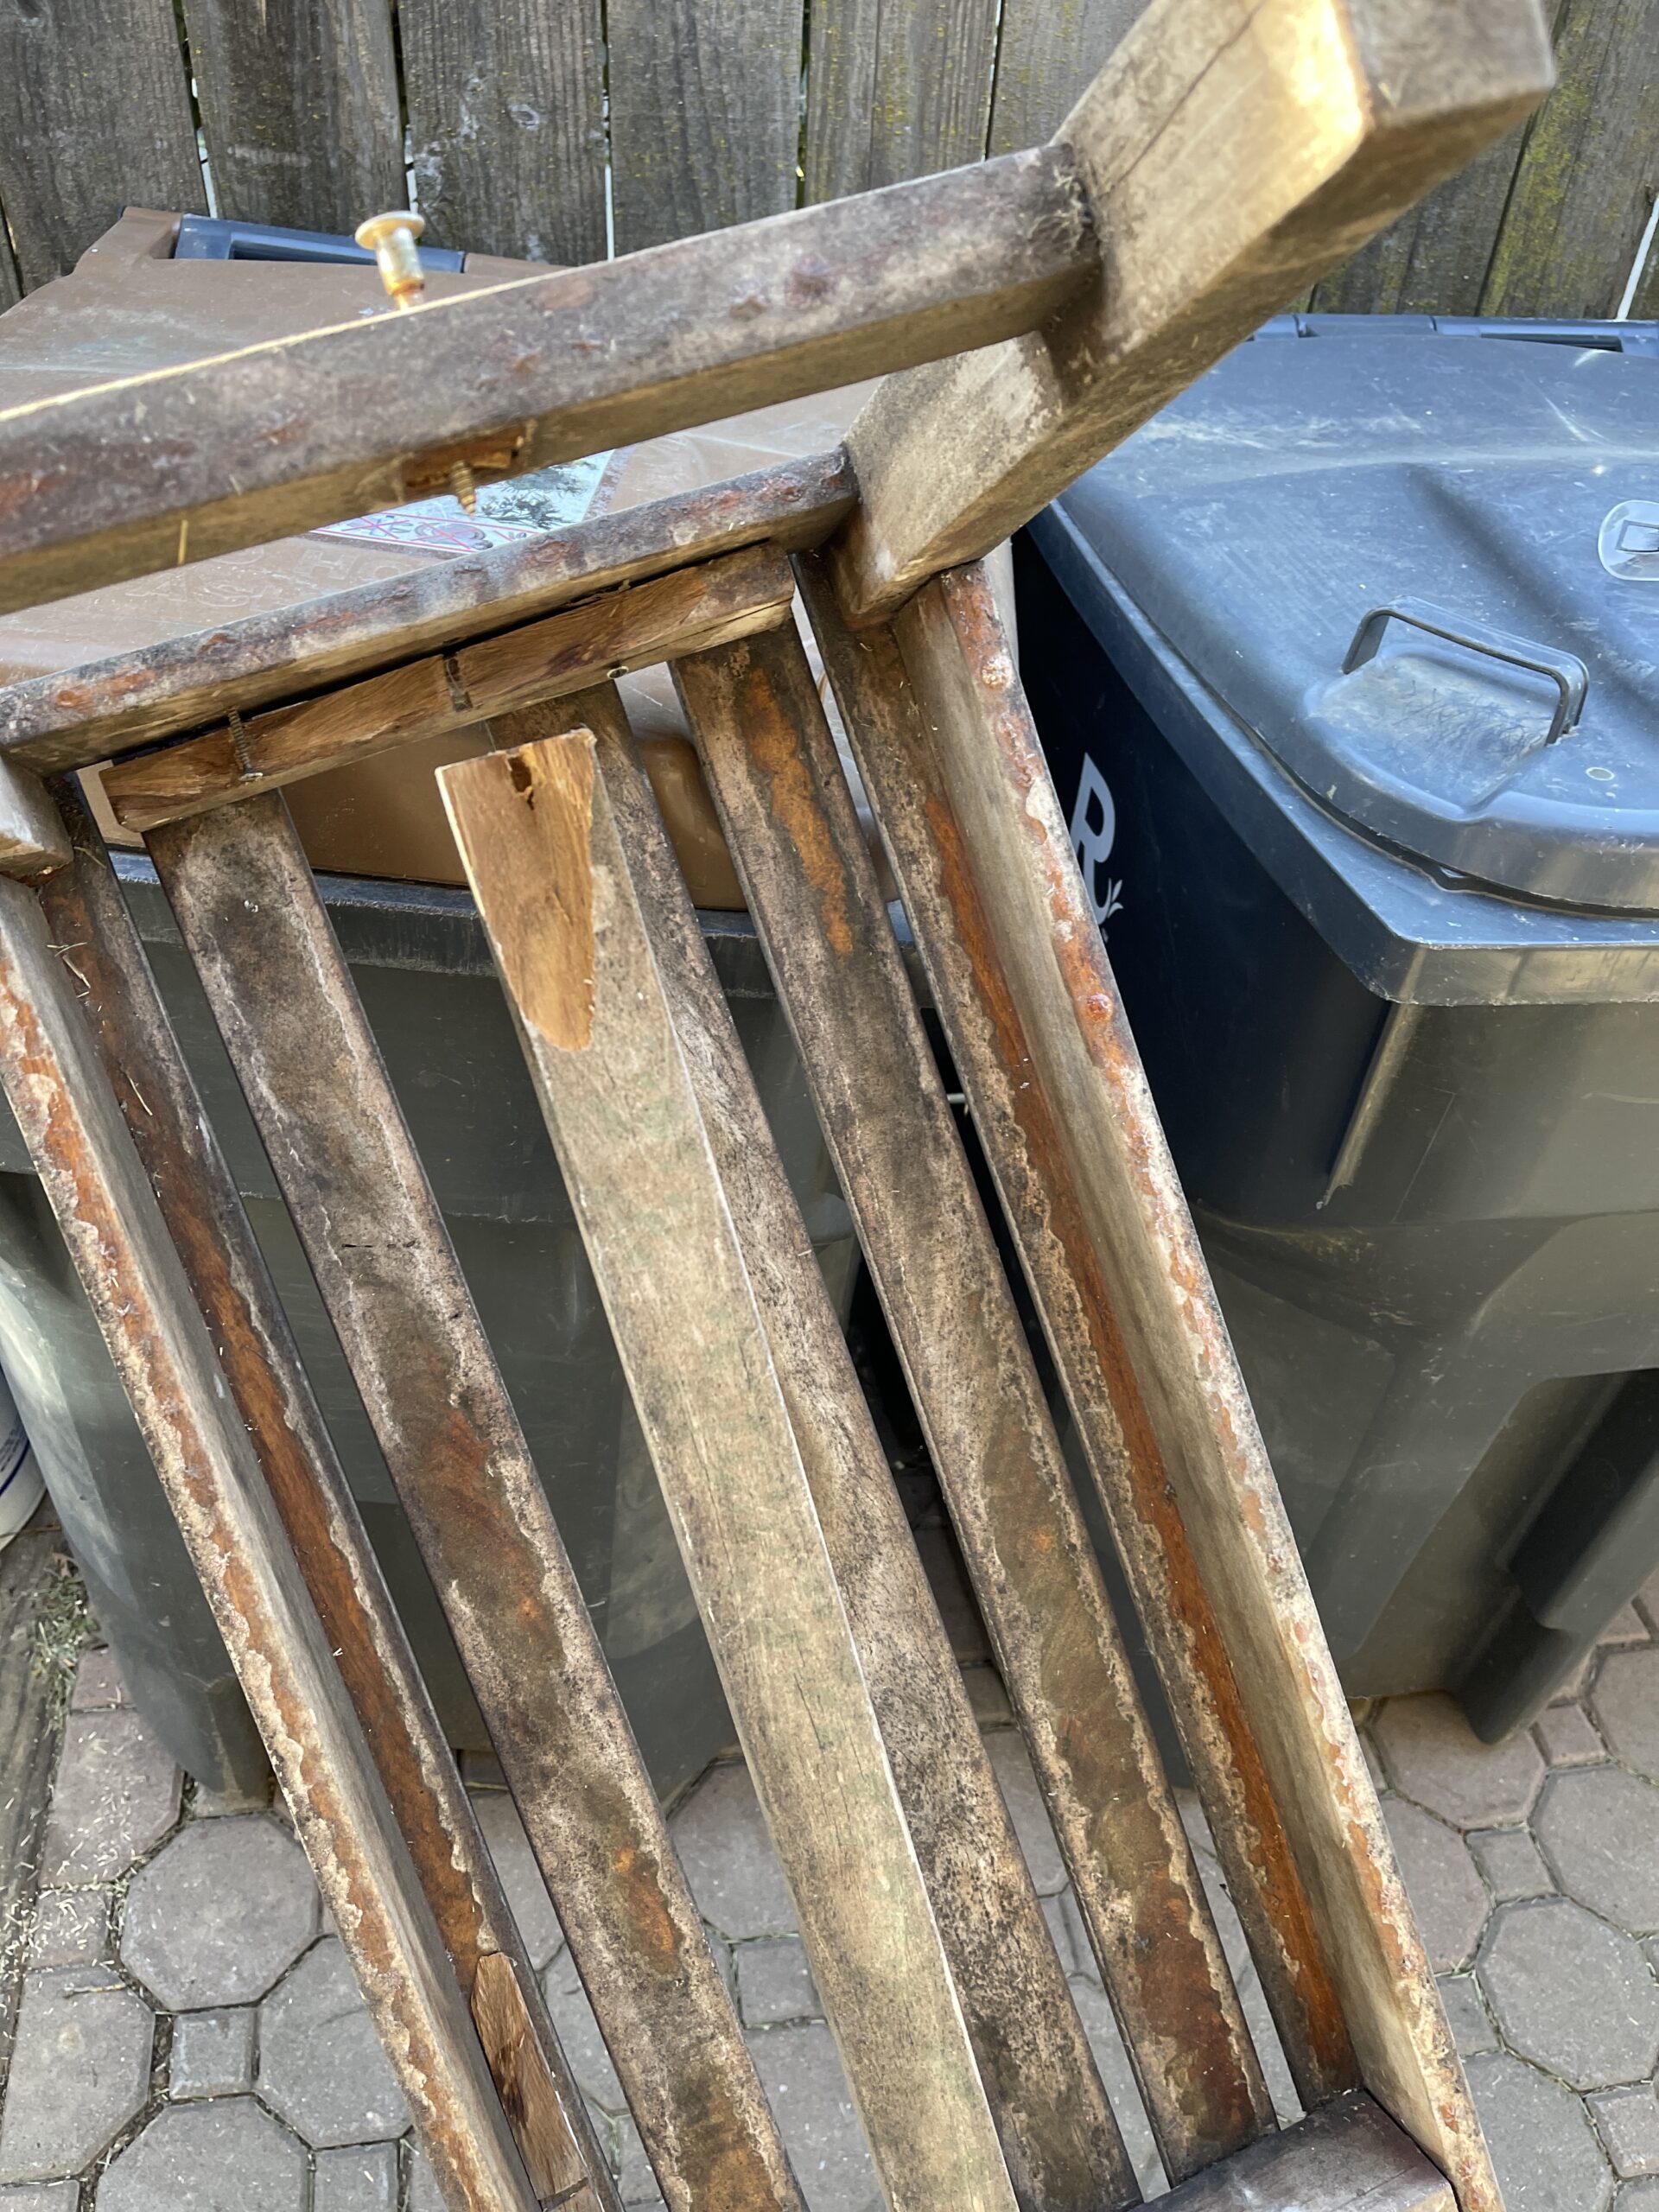
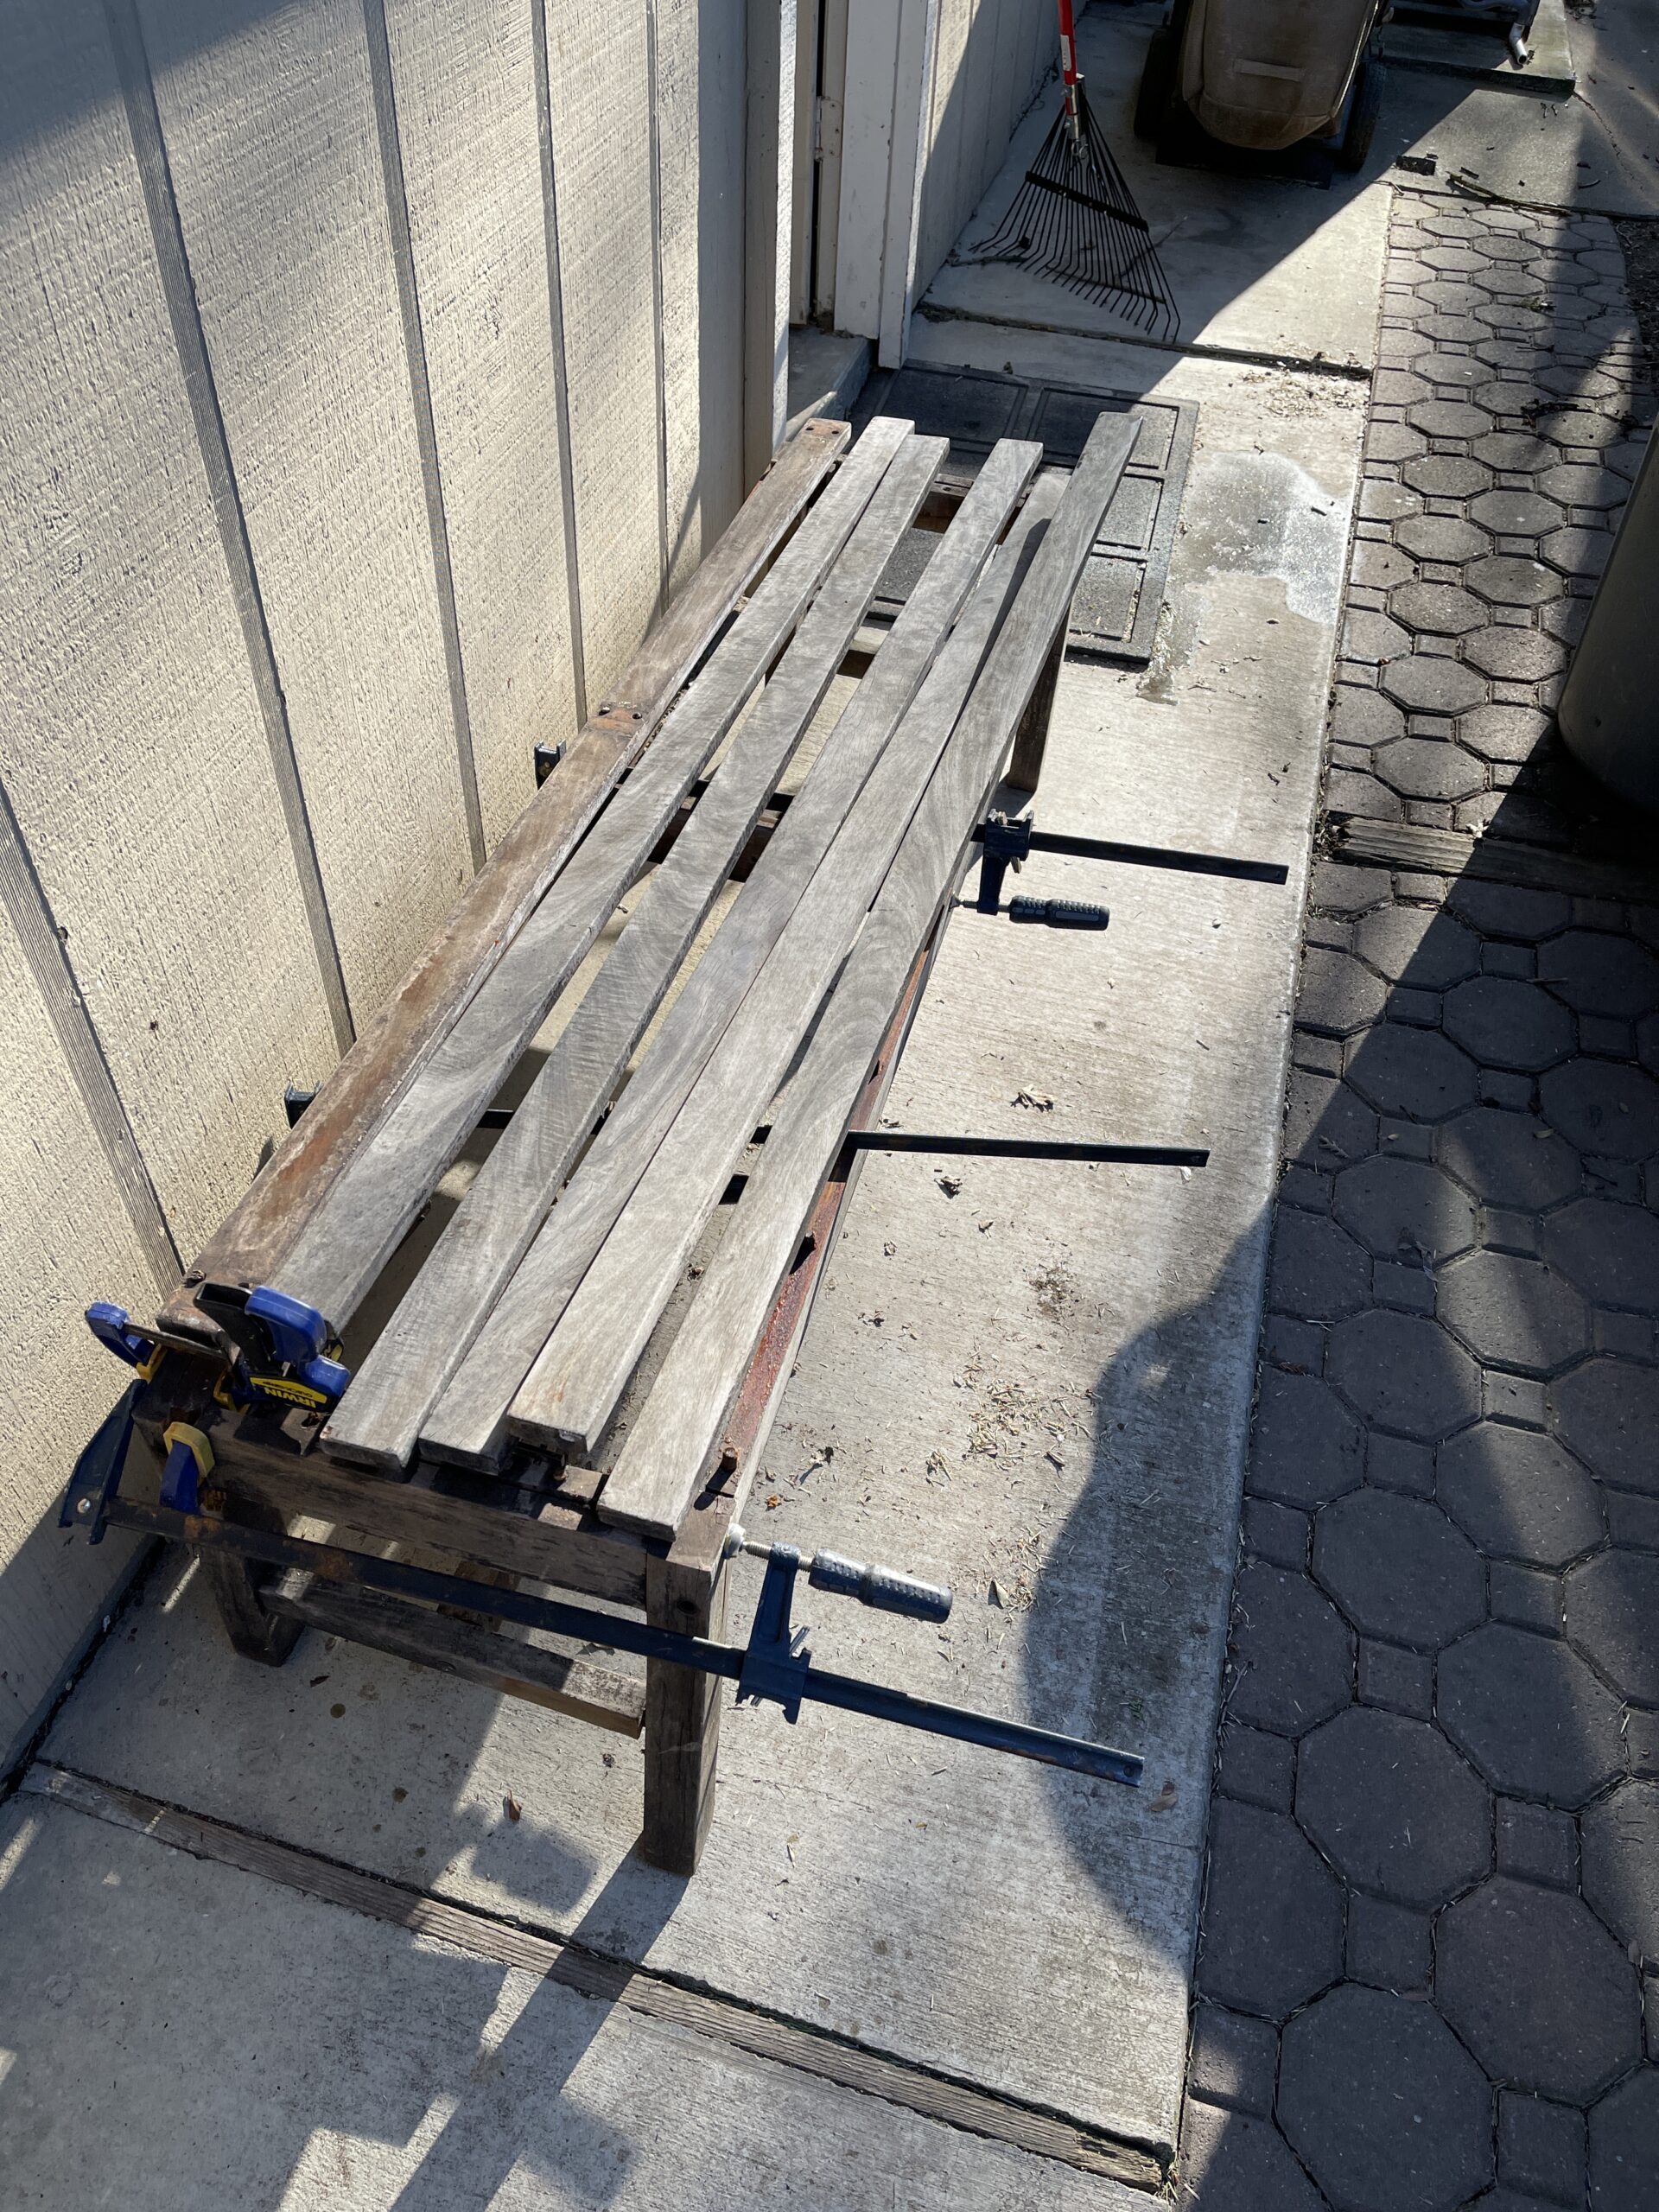
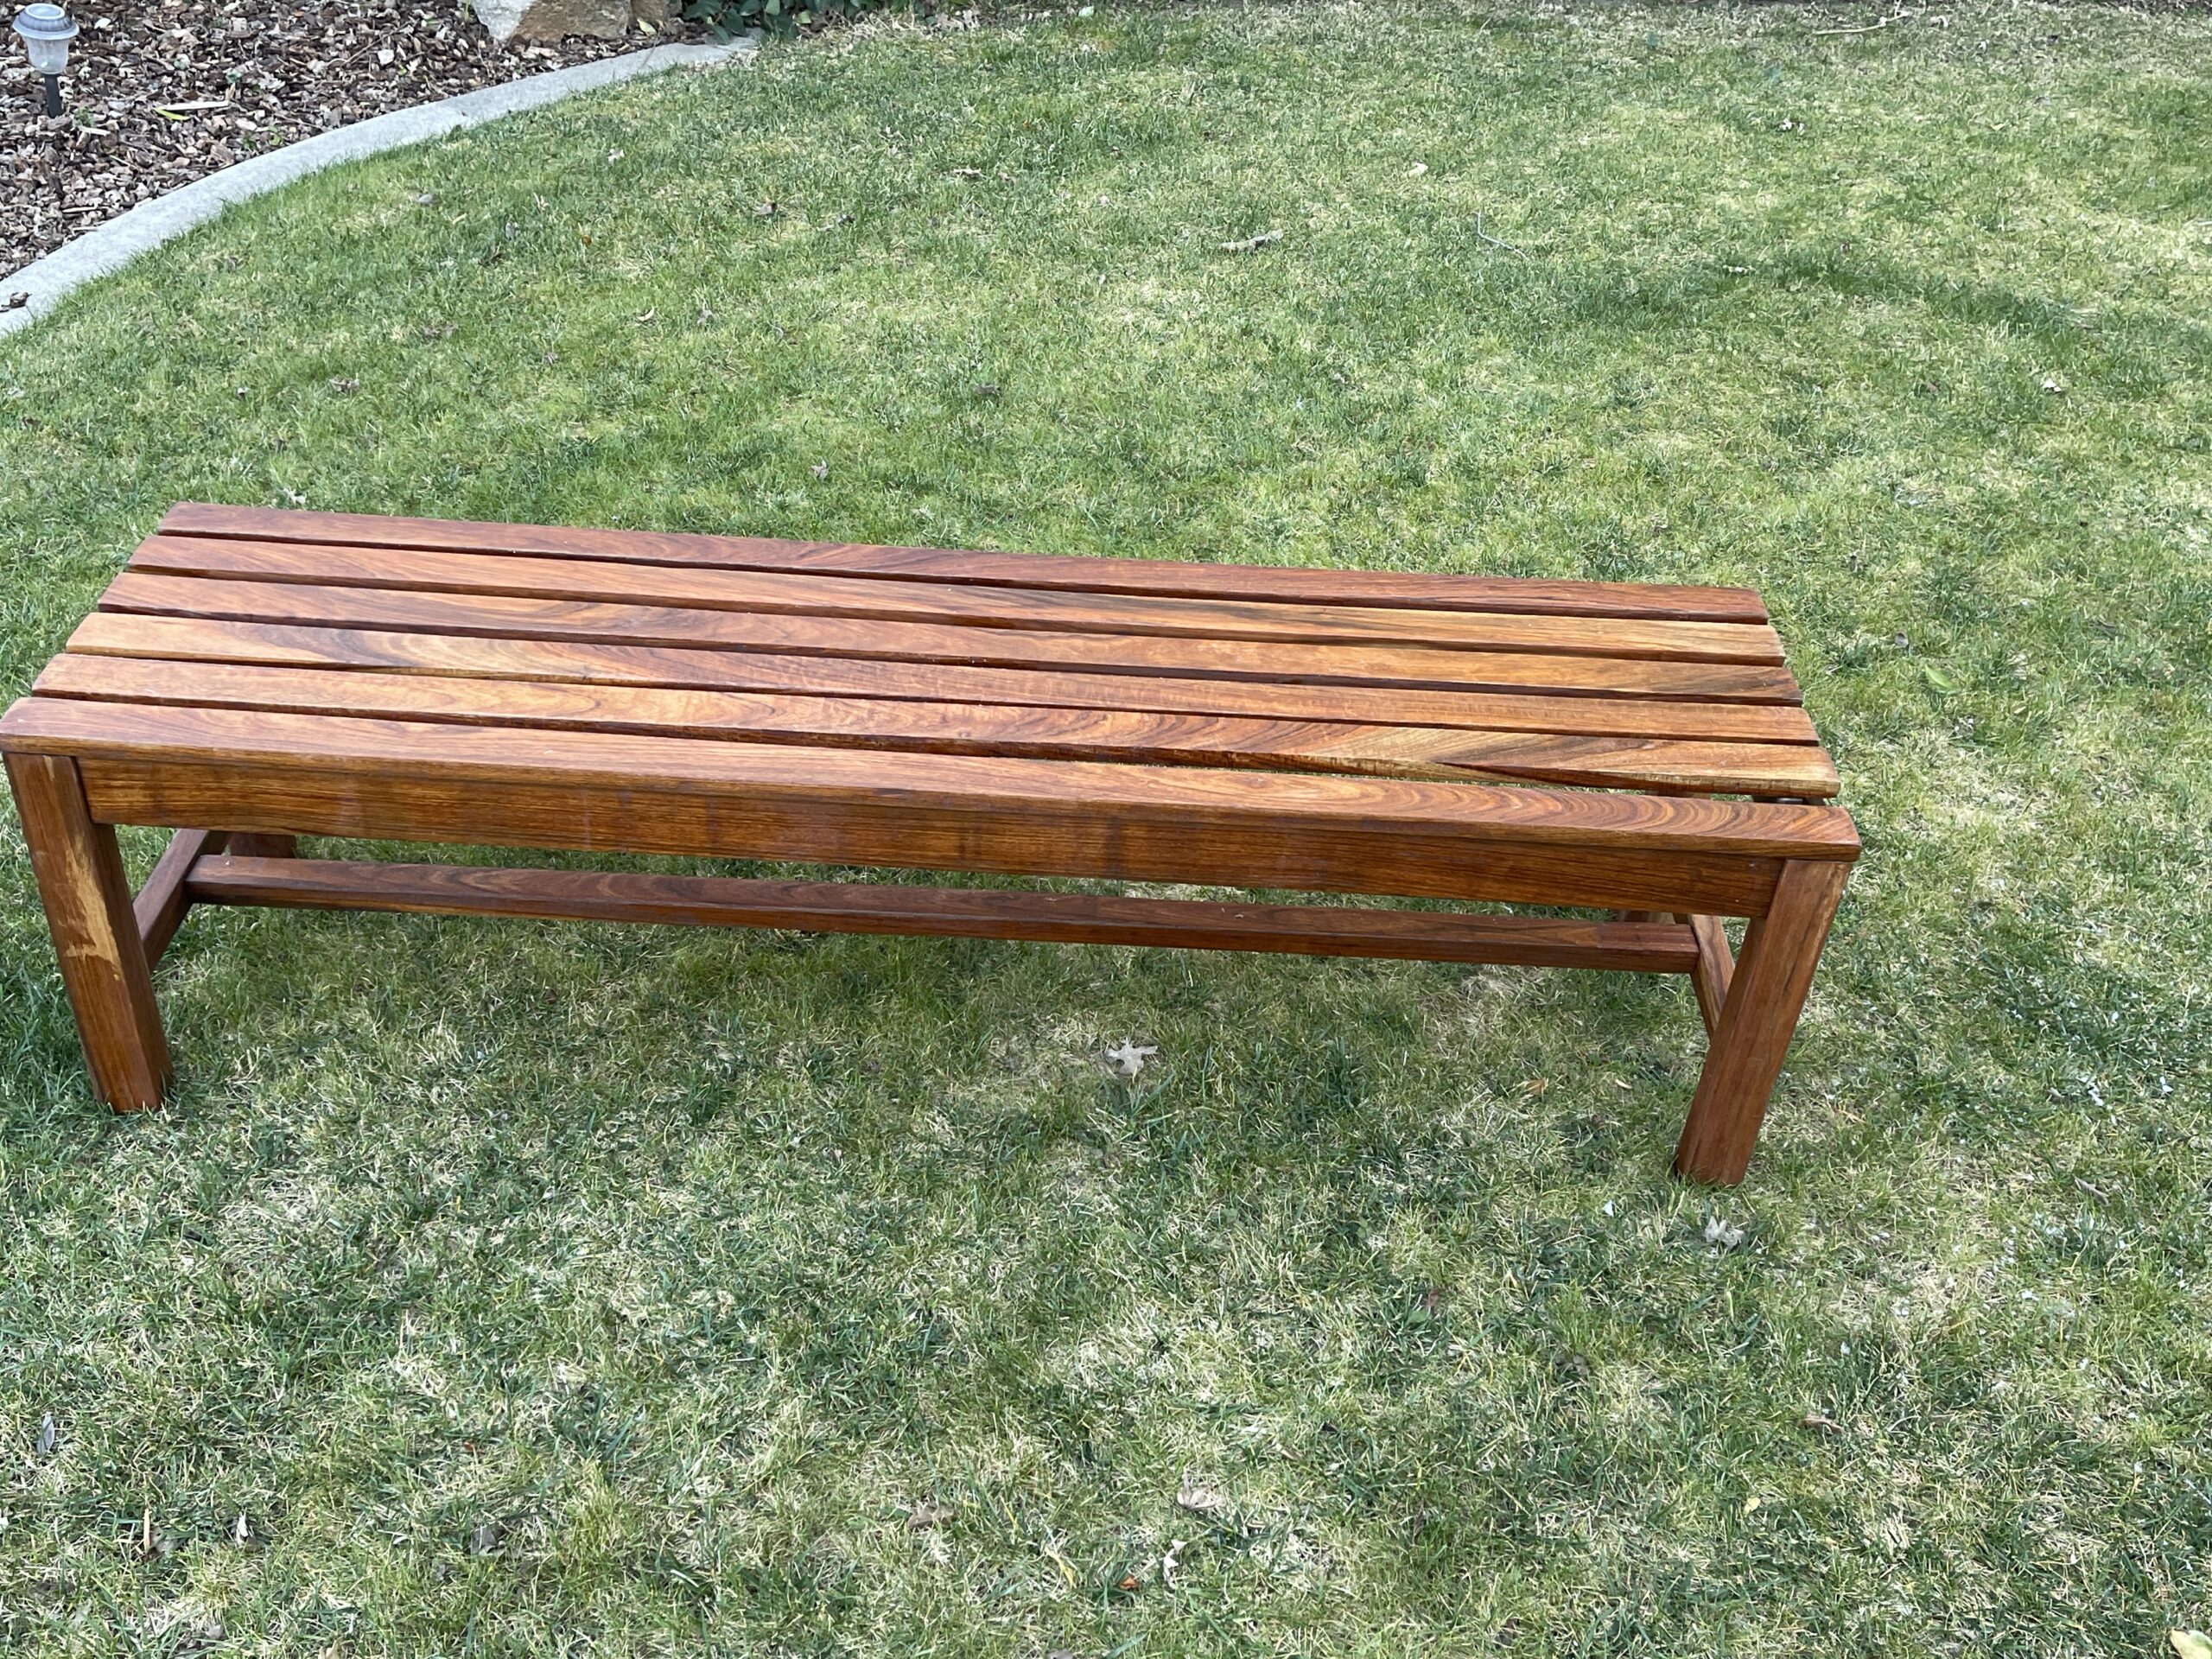
My son-in-law retrieved an old broken down teak bench that was being discarded due to some broken parts and just being in general disrepair. He asked if I wanted it for the teak wood that was still in good shape except for years of weathering, split wood. Some missing parts, and broken bolts, braces, and screws.
It sat in my side yard for a few weeks as I finished up a couple other projects and pending the purchase of a block of wood to replace some pieces that worn, broken or missing. The local hardwood stores didn’t have teak wood so I opted for a piece of eight-four Sapele as a substitute. As it turned out it wasn’t too bad of a match and after a teakwood oil it blended in OK.
I decided to try and restore the piece to its original shape and design as much as possible rather than re-purpose the wood for something else. I think either way would have been OK for such a nice selection of hardwood.

The salad servers were made as a Christmas gift to my two daughters. They are a copy, structurally speaking, of the ones I my for my wife Janet about a year ago. That set was made from contrasting wood of soft maple and walnut. The set pictured below are made entirely of white oak. The “bread butter” t protect the wood from continued exposure to water is a combination of mineral oil and beeswax.
The original design was taken from a post by the YouTube maker Steve Ramsey. I modified his design and made these a little slimmer for looks and functionality purposes.