I was the lead Eucharist Minister at the 6:30 PM Mass on Christmas Eve and as requested I arrived at the church 30-45 minutes early to help the Sacristan get things organized and to greet people as they arrived.
People began to arrive and the church was becoming full of worshipers wanting to fulfill their Catholic obligations and to praise the wonderment of the birth of Christ. The church was full but not to the point of standing room only but most pews were fully occupied. There are four major sections in the church and a chapel and can seat about 350 people comfortably.
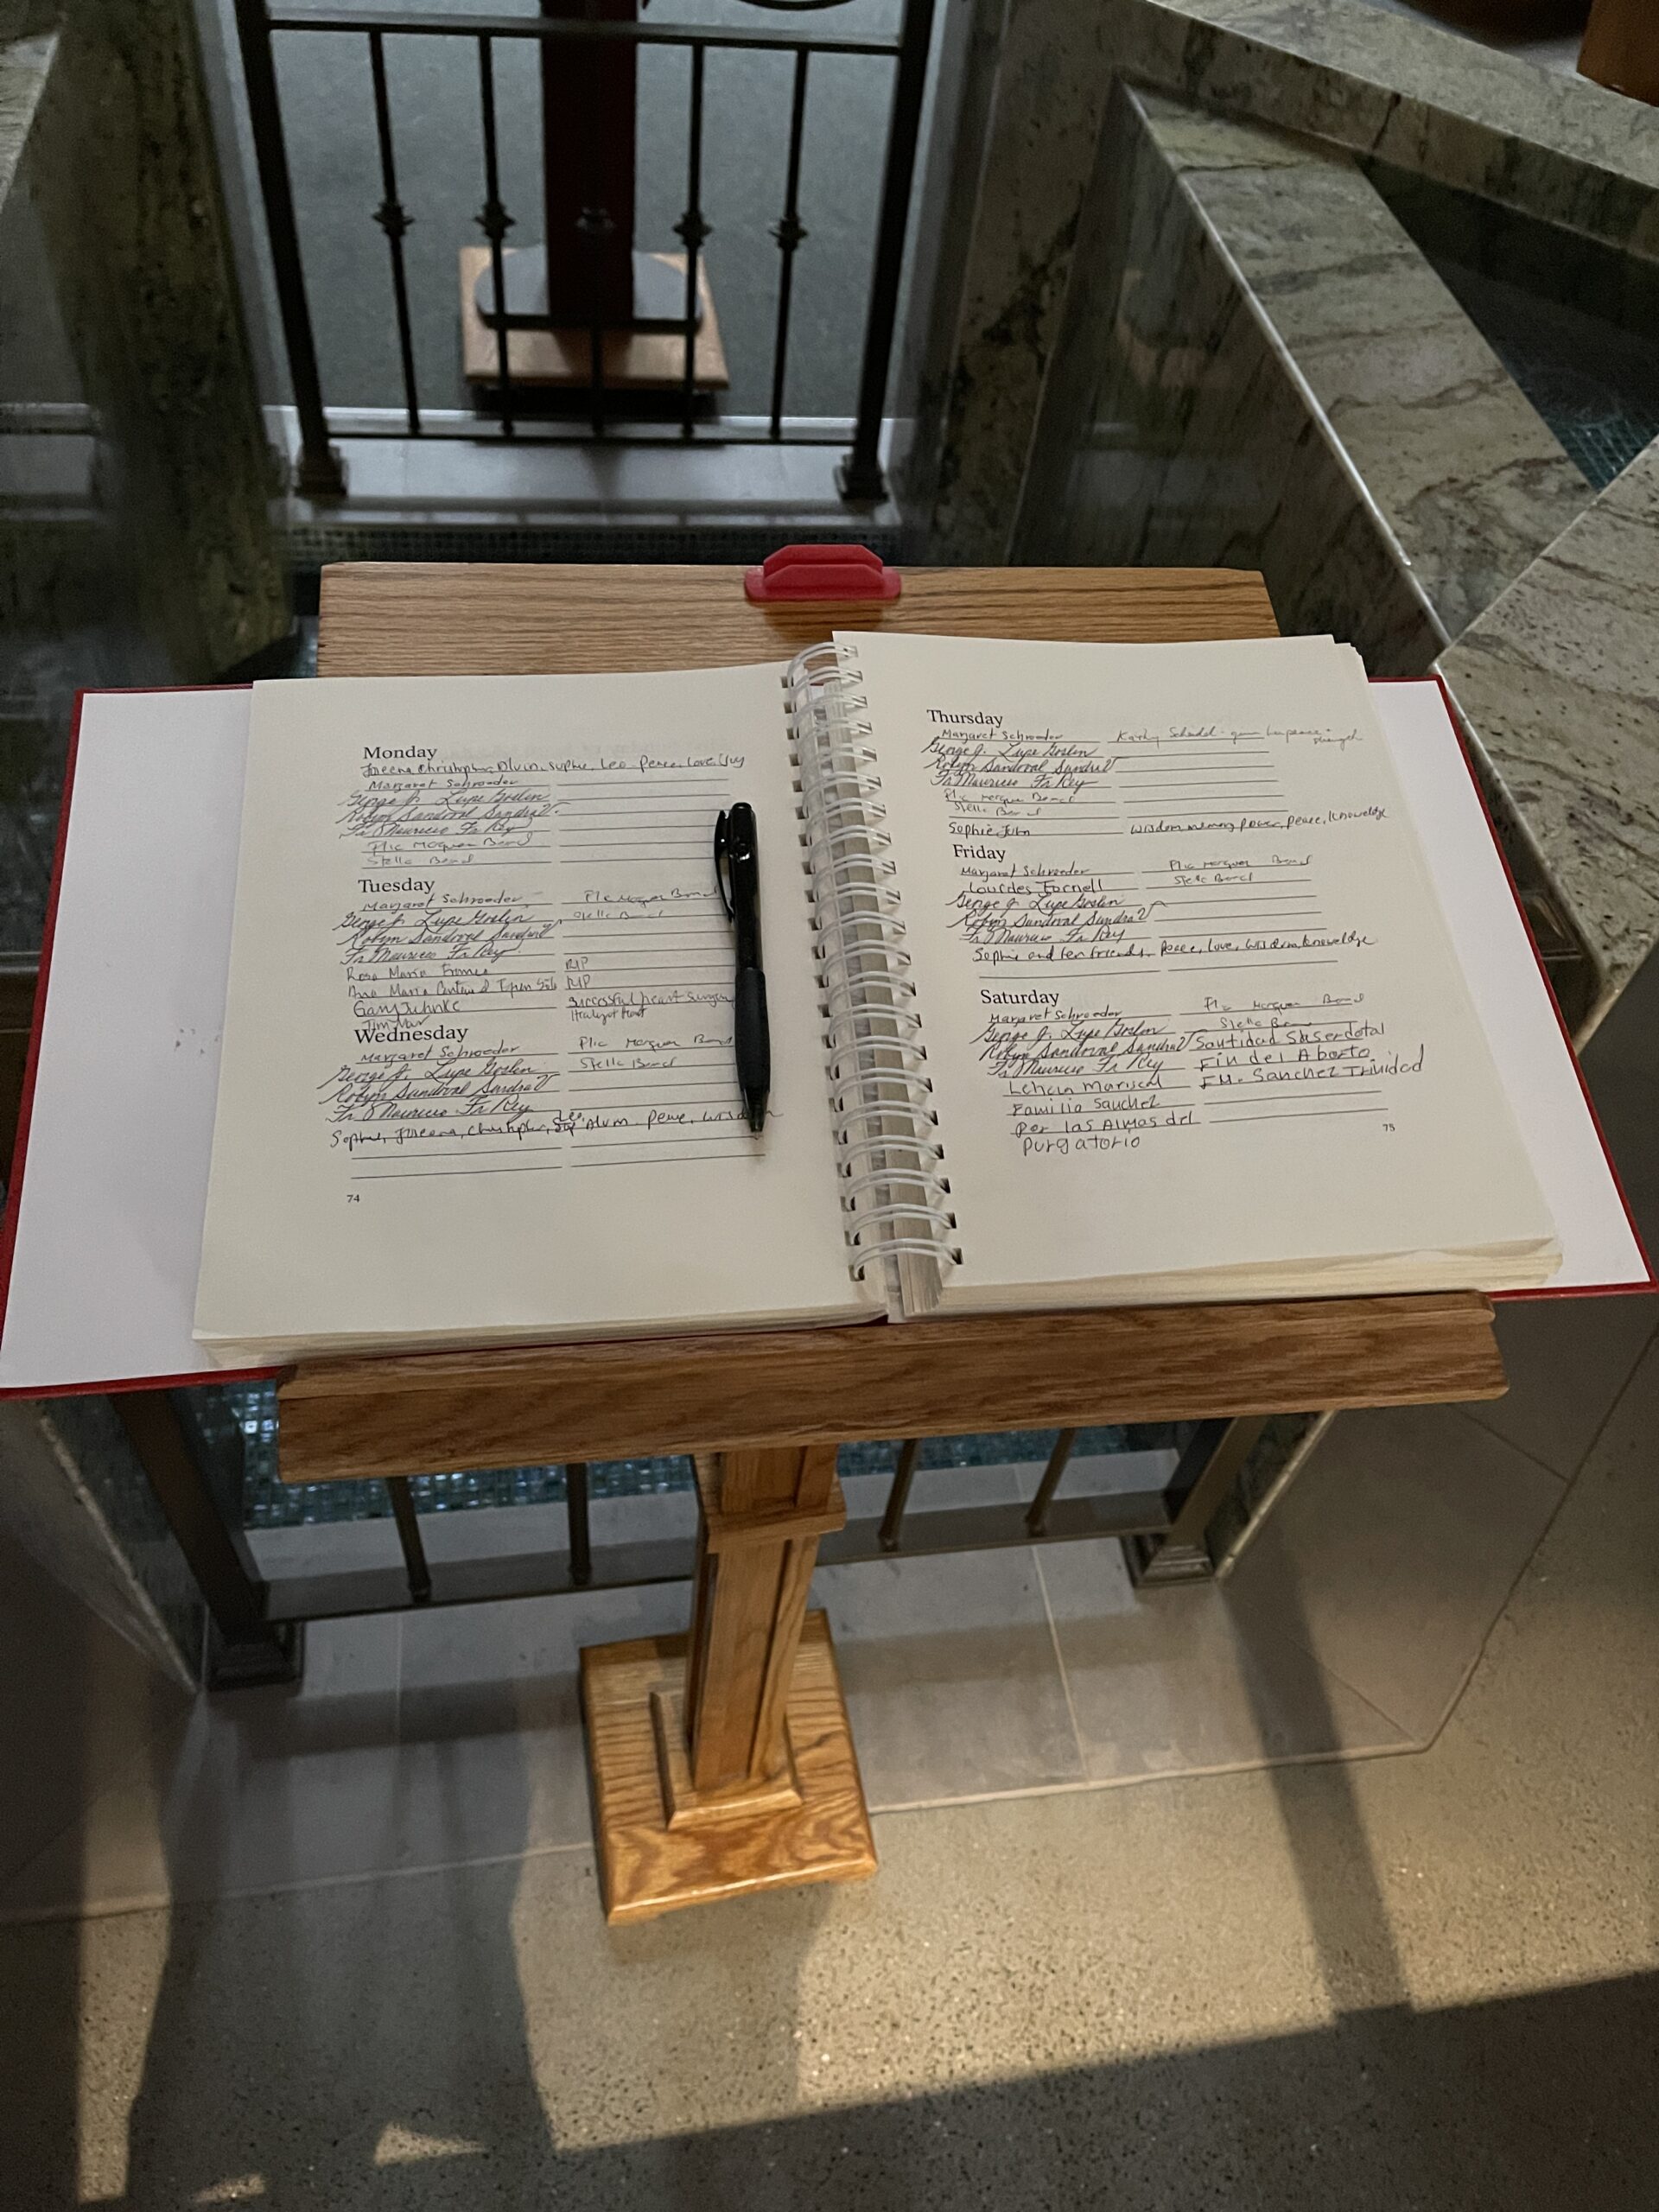
Mass went well with the pastor doing the homily and all the ordinary things that occur during mass. As an EM (Eucharistic Minister) after mass has been completed I take care of the cleaning the vessels that the priest uses in preparation for communion and distribution to the church members.
After church I stopped at the Nugget deli and got something for myself and MD to eat and then began my preparation for the Christmas breakfast. I always make breakfast on Christmas and this year I decided to cook as much as I could the night before and finish up in the morning with stuff that couldn’t sit over night. I sliced up 6 packages of Jimmy Dean Sausage and fried them up to just before done. I would finish those up in the morning as I left them in the refrigerator over night. I decided to go to bed after that and to get up early to finish up the rest of the menu.
The family was to come over at 9:30 AM so I set the alarm for 7:30 to finish up the rest of the meal. Next I unwrapped 5lbs of bacon and used 3 skillets of various sizes to began frying it up. Keeping track up the 3 pans and all the slices was nerve racking hoping not to burn or overcook the slices, plus I don’t care for bacon that’s not cooked evenly with under cooked tips on the ends.
As the bacon was piling up in layers between paper towels I was busy putting the Tater Tots in the new oven that I had purchased last year. It has an Air Fry setting and a large mesh basket that held 2 of the 4 bags of potatoes that I had on hand. With the two mesh baskets I was able to get all the Tater Tots done in one fell swope in about 30 minutes. The sausage was finishing up in the second oven and and all that remained was the scrambling and cooking of the eggs,
I had 3 dozen eggs on hand and I cracked half of those in a bowl, scrambled them and added them to a large Teflon skillet already blessed with a large pack of butter. I let those cook under low heat and stirred occasionally as the eggs began to solidify and become done. I dumped those into a large serving dish and repeated the process for the second batch and in no time all three dozen were done and in the warming oven along with the rest of the breakfast just in time for the crew to arrive.
After breakfast and some chit chat I had everyone gather around the large Christmas tree where all the gifts I had previously wrapped the last few days were located. I got to play Santa Claus for about the next half hour handing out gifts that everyone had purchased for each other and enjoying the smiles and joy of people receiving surprising gifts whether they liked them or not .
Another hour or so passed and people showed off what they had gotten and just conversing amongst each other. By noon everyone was on their way and preparing to return in about 5 hours. Five hours would be only a little rest time because now its time to prepare for the dinner meal.
Getting dinner ready was a chore even though most of the preparations were done the day before. Getting the standing rib roast seasoned and in the oven for a couple hour baking. Other dishes like Chicken Broccoli Casserole, Au Gratin Potatoes, green beans, broccoli, macaroni and cheese, rolls and finally for dessert brownies and ice cream provided by Kim.
Cleanup took awhile and the young ones played cards and watched sports on TV. More chitchat and when the last of the family left I was more than glad to sit back and just do nothing for awhile.
Overall it was a very pleasant day and a great opportunity to meet the newest to be member of the family after the wedding in Arizona this April.
Merry Christmas To All